Stripe eGiftCard Setup [Internal]
This integration allows our international customers to utilize the eGiftCard portal using Stripe.
*Disclaimer for Customers in Canada* - For Canadian customers using CardConnect as their domestic payment processor, please be aware that changing the SQL MainEngine setting 'CardPresentProcessor' will disable refunds on the POS for CardConnect. If 'CardPresentProcessor' is set to "Stripe", this setting will enable refunds on the POS only for the eGiftCard Portal.
- TABLE OF CONTENTS
Step 1: Add location Values to Github Repository
// Configure Github Repository Entry
Update GitHub Config file
This is to add the location to the config so we can load the site properly (This must be done with Developer credentials, support credentials cannot access this step)
- Go to: https://github.com/clubspeed/GC-Backend/blob/master/configs.json
- Click on the pencil icon in the top right to Edit the file
- Paste in the following BELOW the first open bracket at the top. Make sure to get all quotations and commas.
- "SIKDaytona.clubspeedtiming":{
"coreUrl": "https://SIKDaytona.clubspeedtiming.com/coreAPI/",
"username": "clubbooking",
"password": "PcwRymwXG9S7zQM"
},
- "SIKDaytona.clubspeedtiming":{
Update the Username, Password, and coreURL (Grab password from SQL)
Scroll to the bottom and press commit changes
Step 2: Updating GitHub Config Release
This will push out the recent changes that you did so the site should now load
- Go to: https://github.com/clubspeed/GC-Backend/blob/master/configs.json
- Click on Code on the left
- Click on Releases on the right
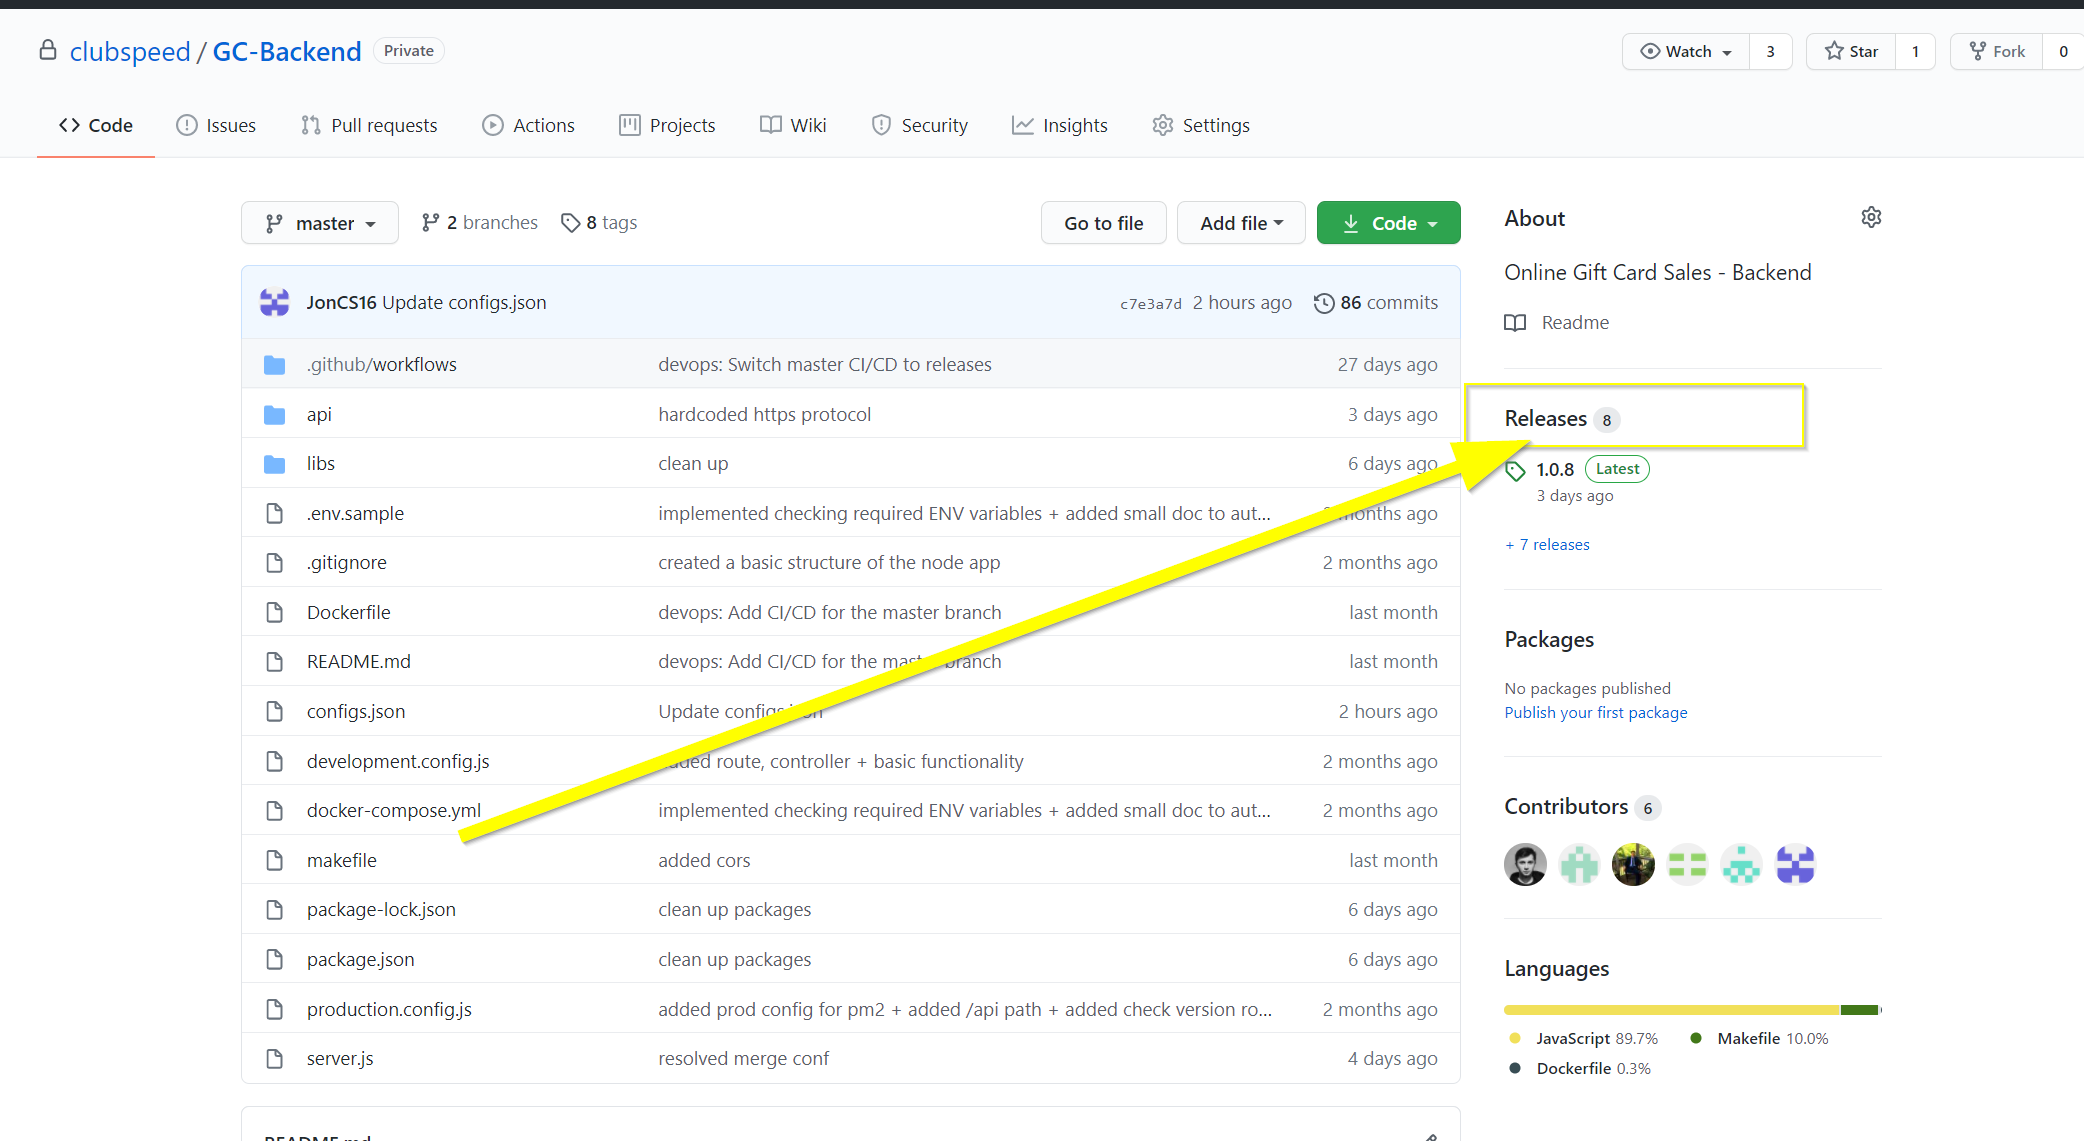
- Click on Draft New Release

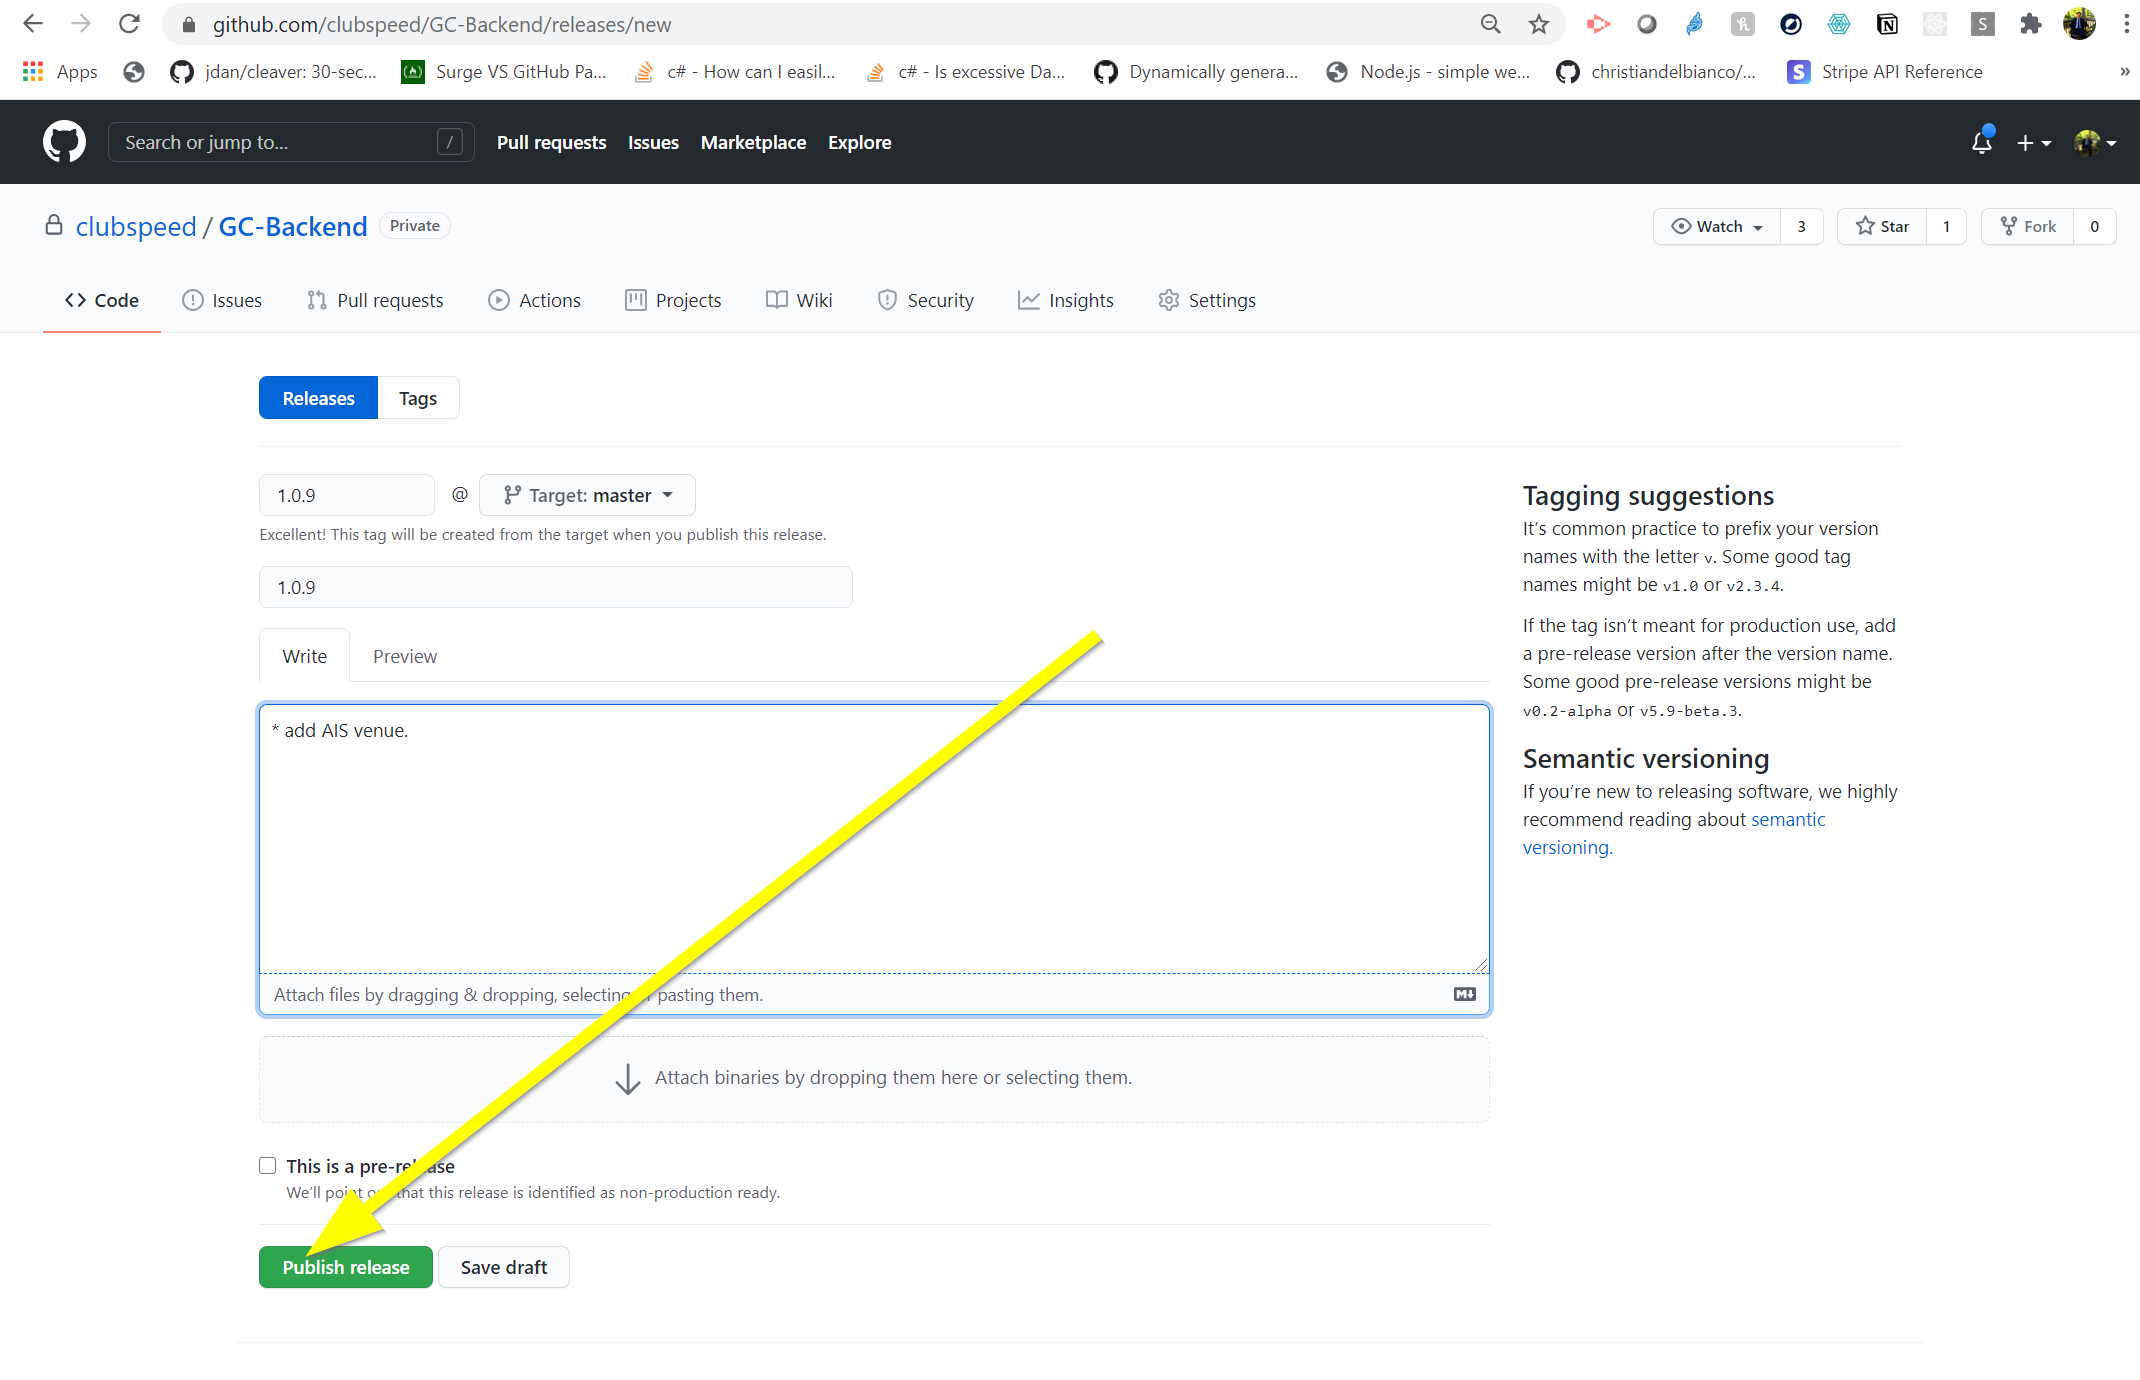
Update the Version and Title to the appropriate version and for the notes, **add a note for which customer you have added.**
- The version and title, we will only be updating the 3rd option, so 1.0.xxx, or 1.2.xxx, we only update the x's. and it goes to the next number (make sure to double-check this)
- Once done hit Publish
Step 3: Test loading the site
Final check to make sure the site loads. NOTE: It can take up to 30 minutes for it to update from the Github file)
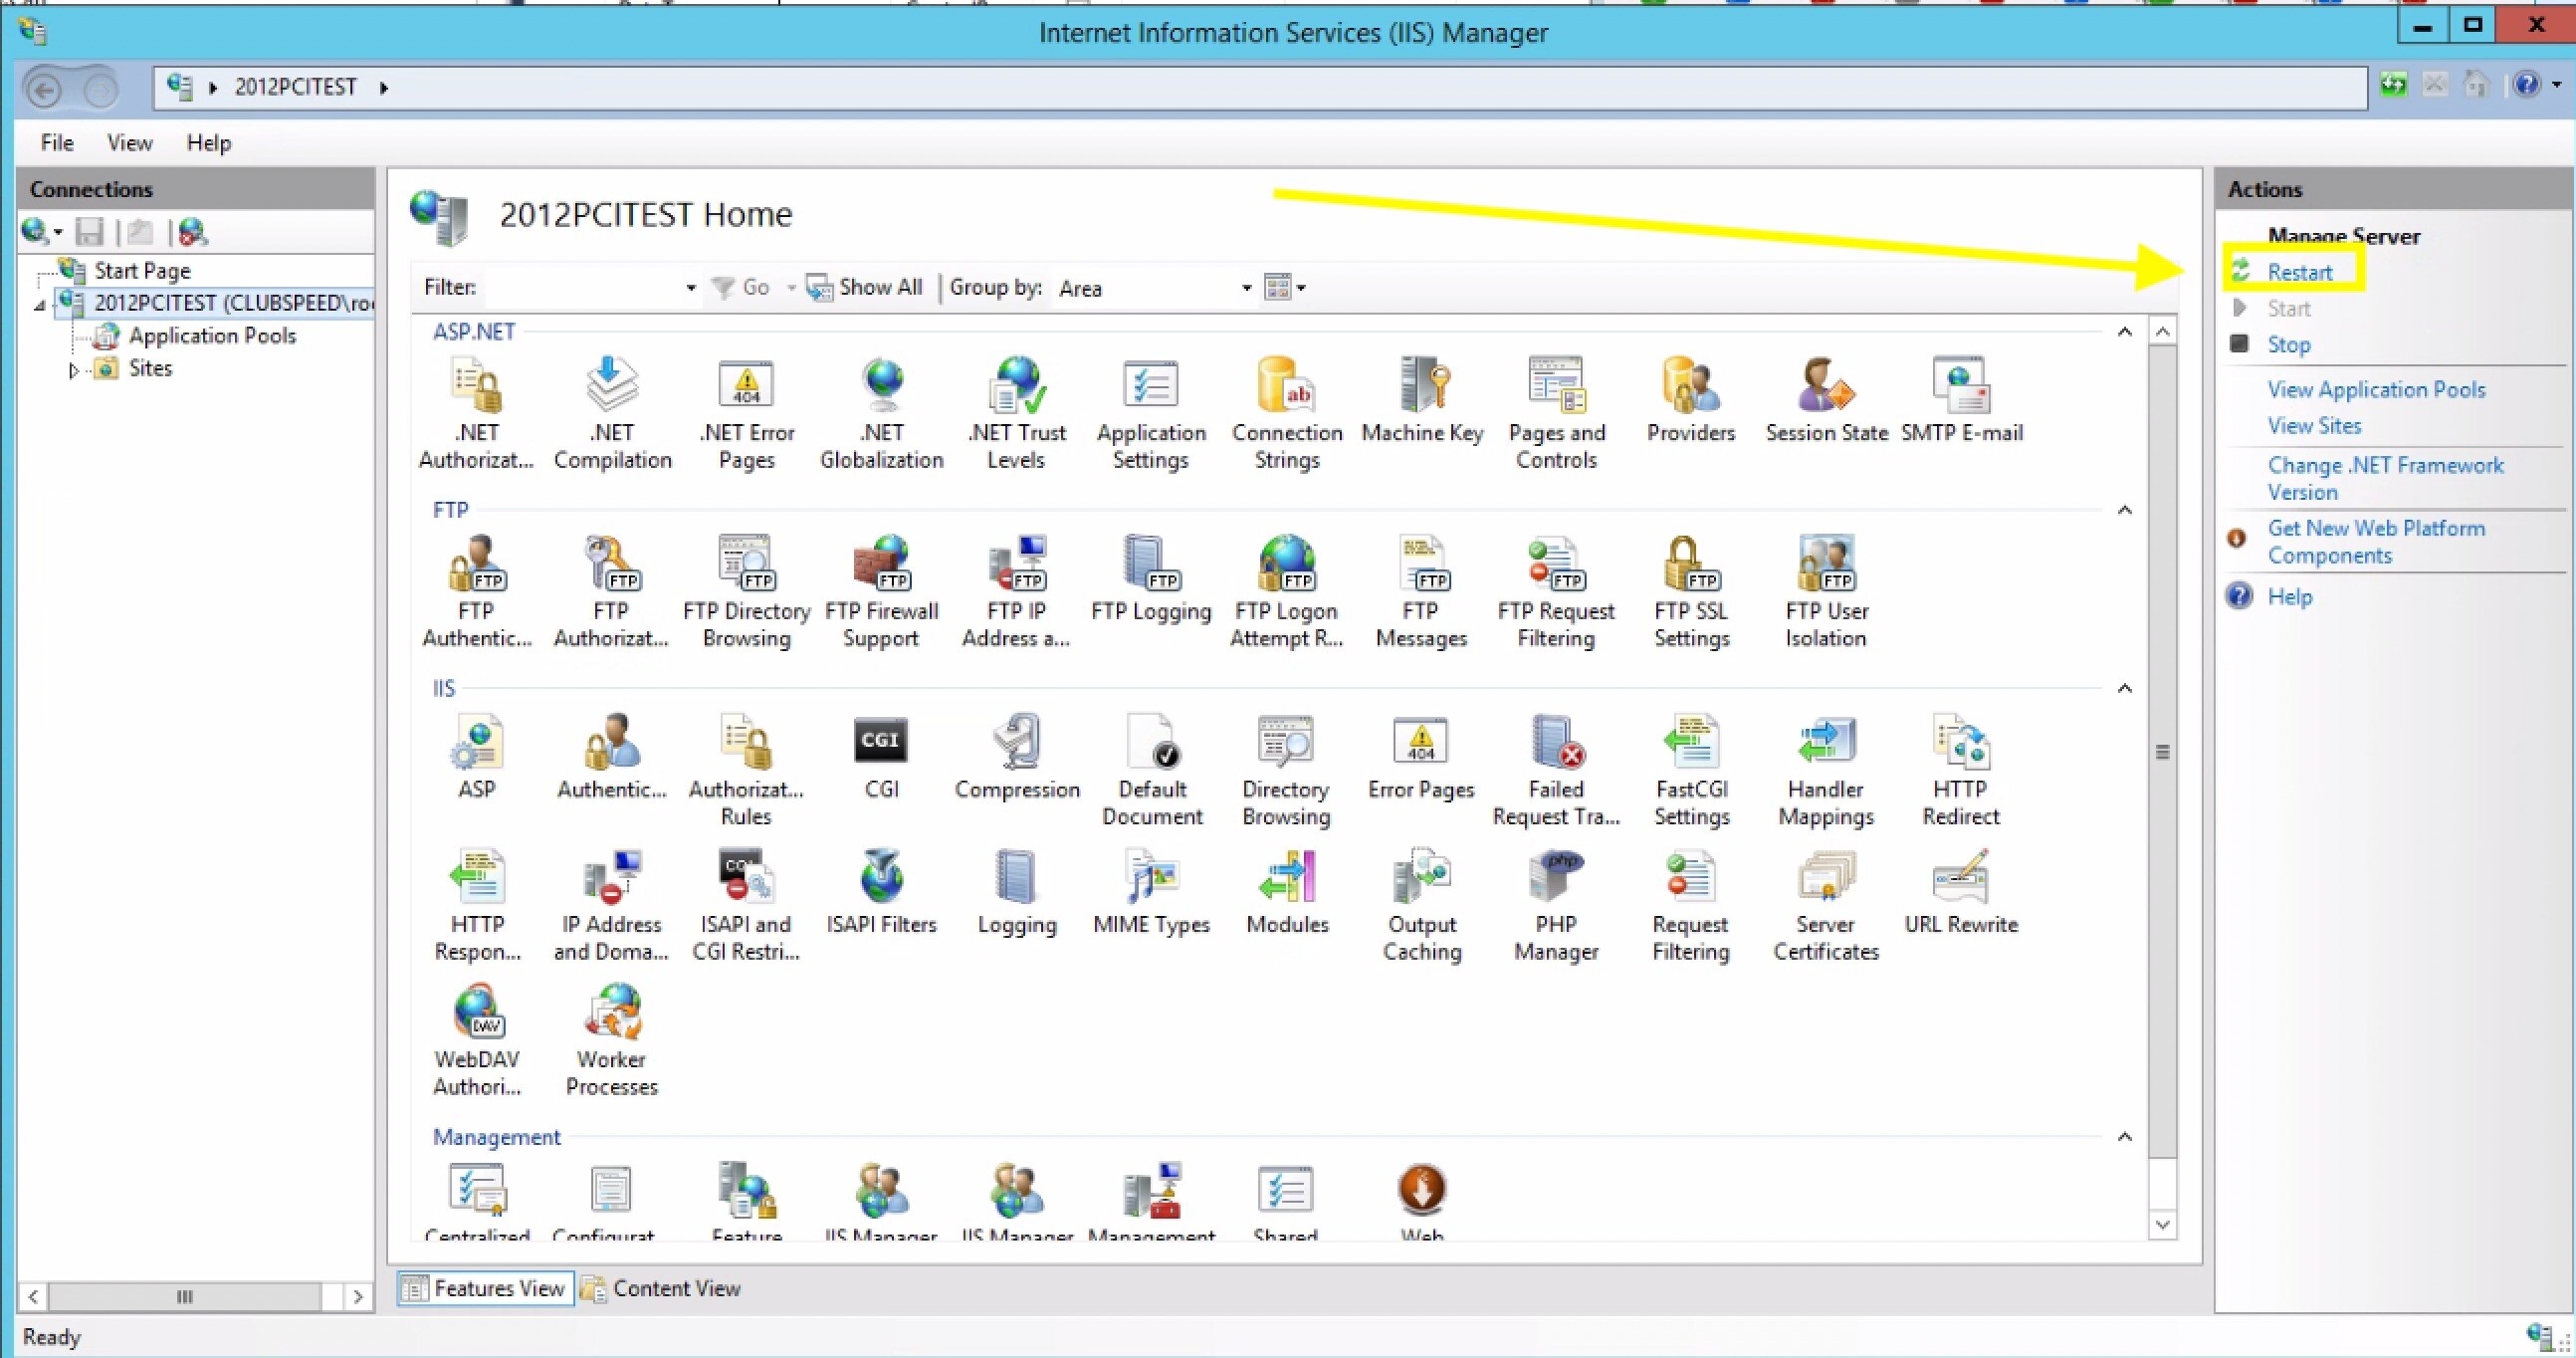
- On the server, restart Main Engine in Fire Daemon and also Restart IIS (Make sure customer is aware or they are not running races)
- Go to https://booking.clubspeed.com/{license name}
- It should load within 5 seconds
- If it does not load, go through the steps one more time, and ensure that 30 minutes has past.
- If still does not load, consult with management.
Step 4: Configure the Gift Card portal and products
Now that the portal is up and running, the customer can begin adding and customizing their products
- Review this article for a setup guide: https://clubspeed.freshdesk.com/support/solutions/articles/47001162533-new-online-gift-cards
Step 5: Configure Stripe
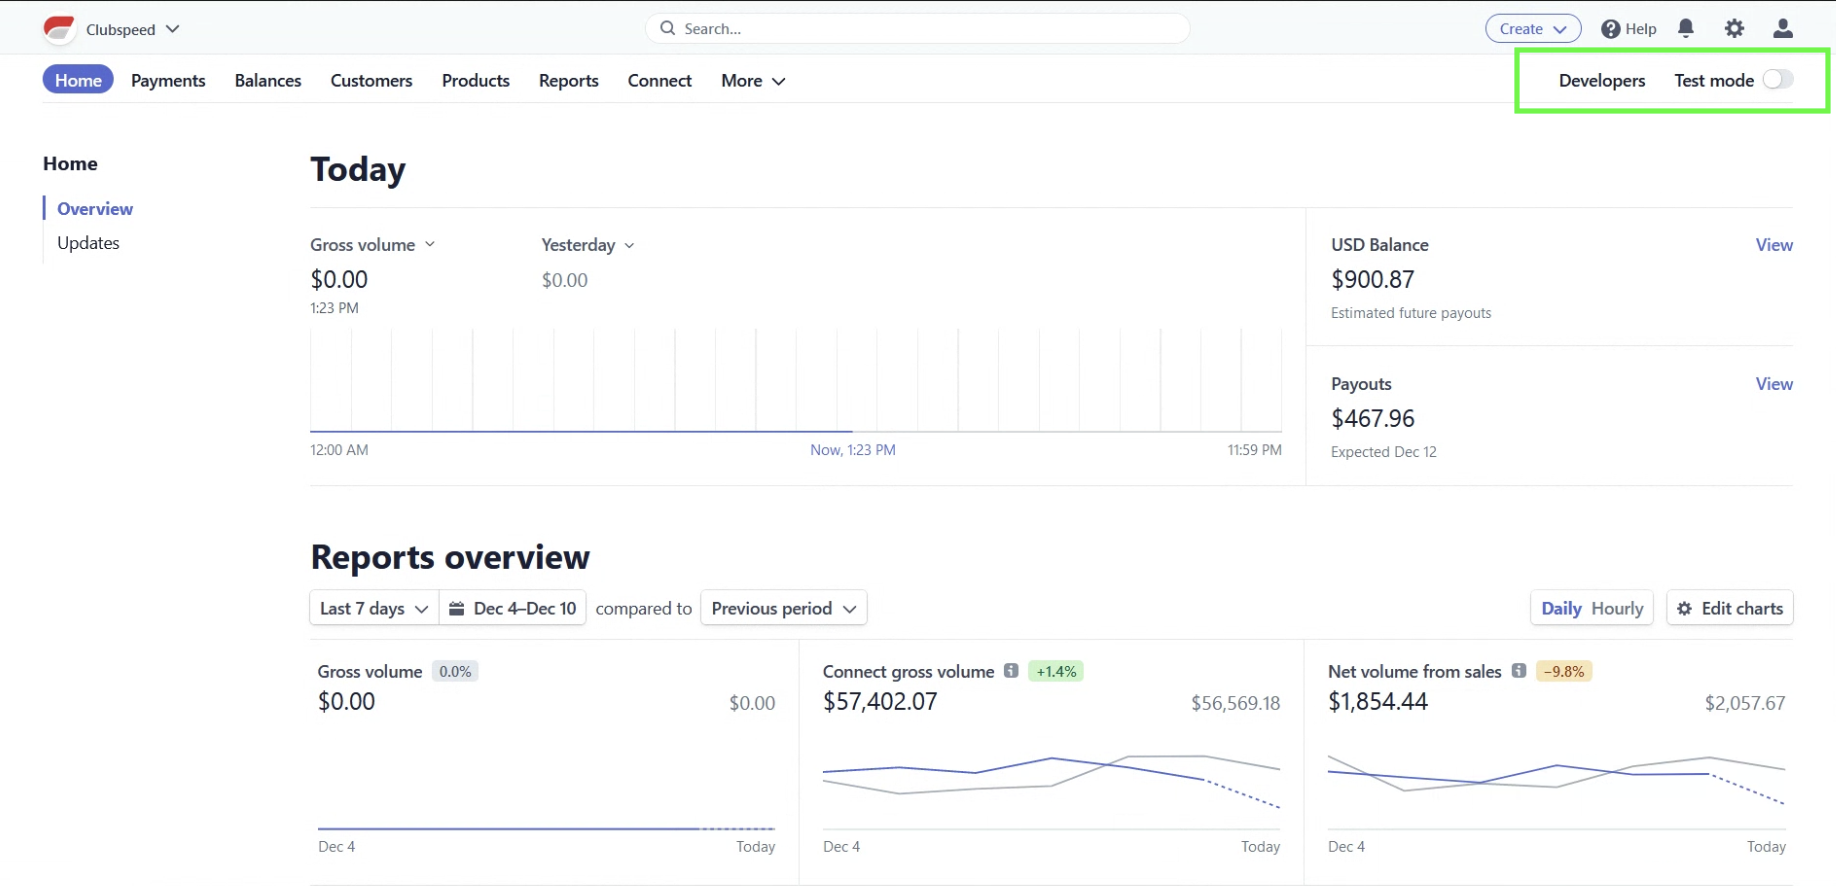
- Confirm that the account is not in Test Mode
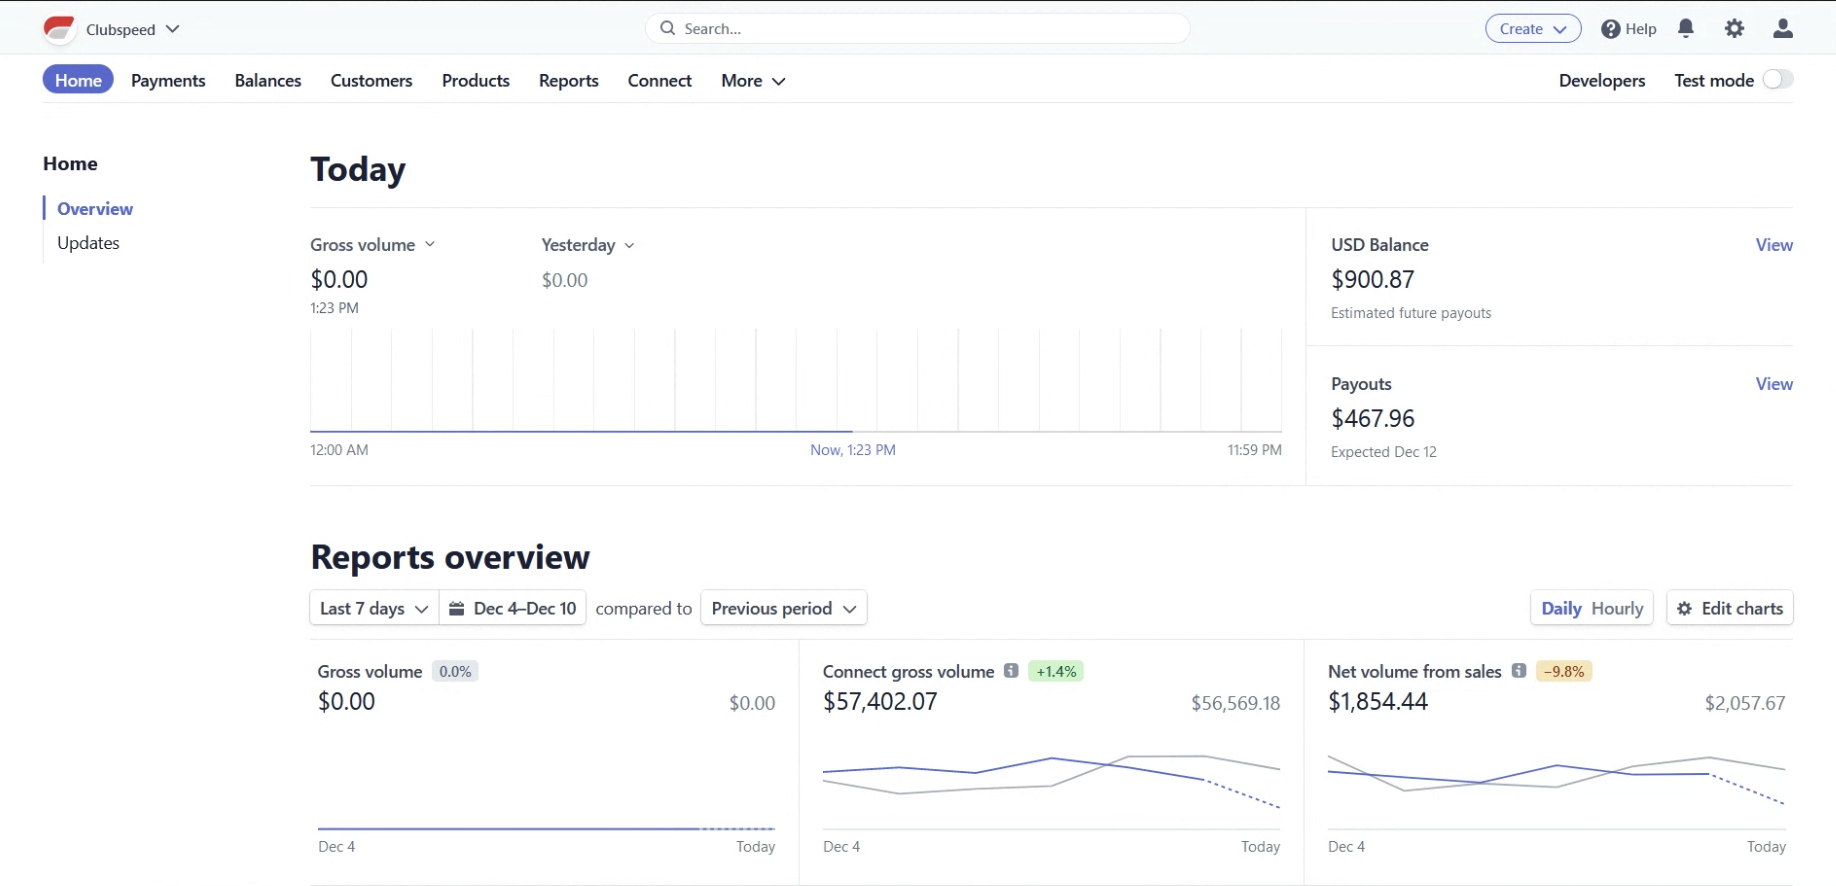
- Click on the Developers Button on the top right
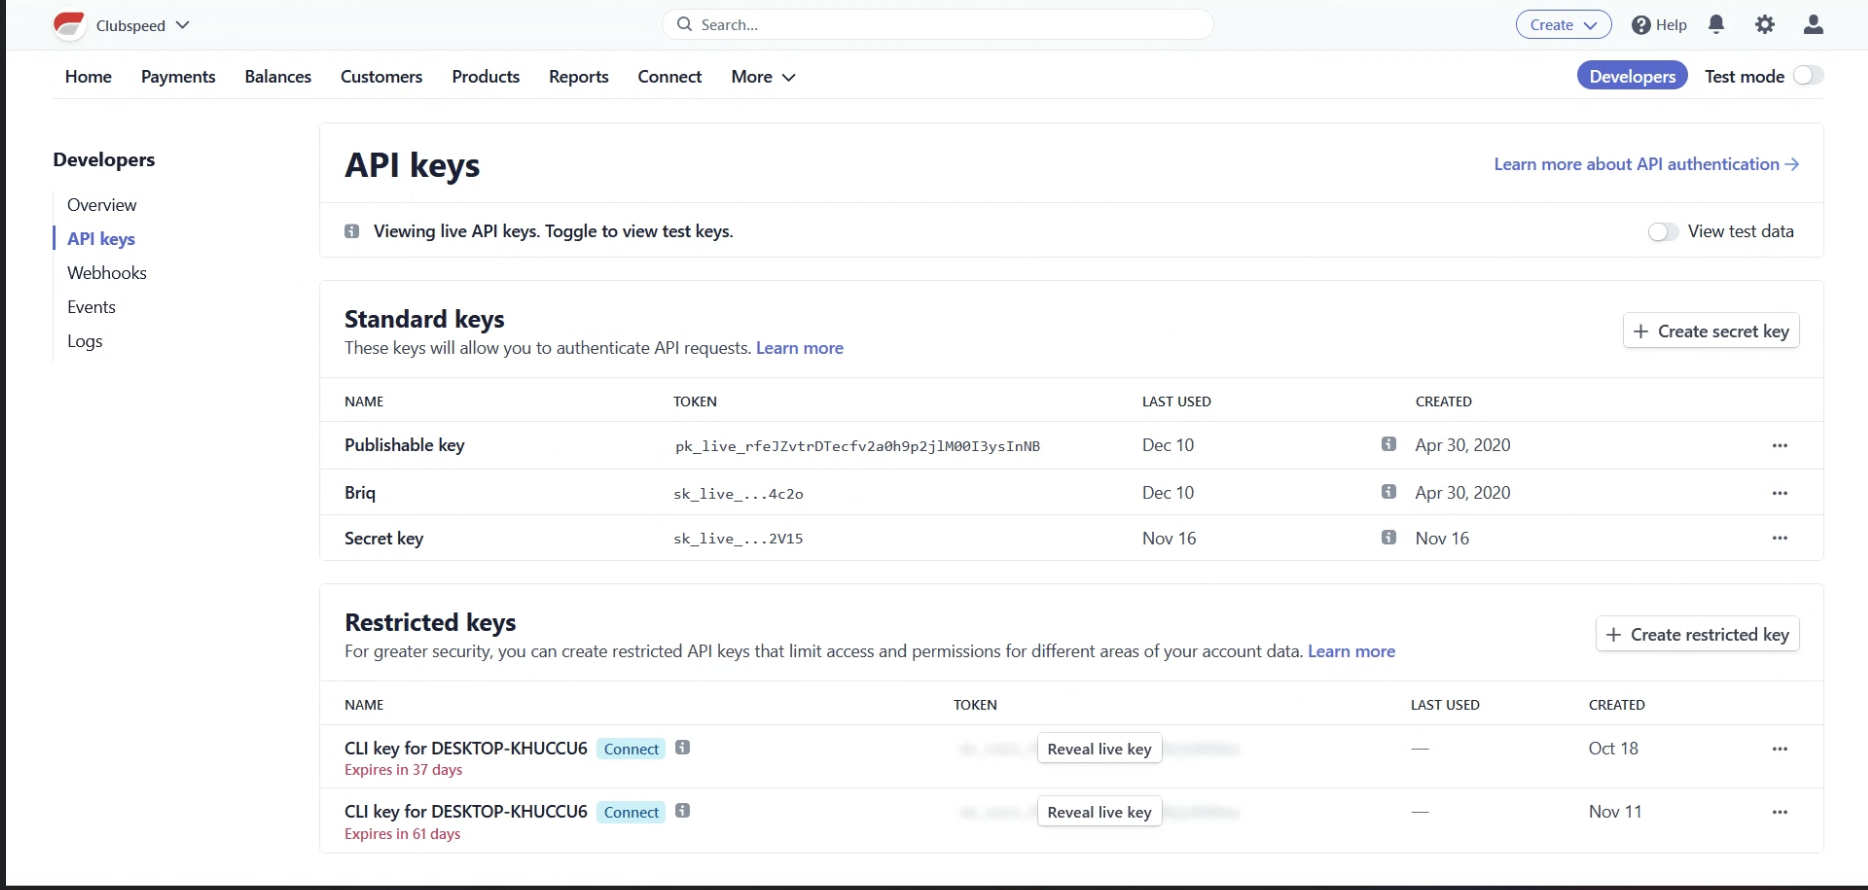
- On the left Click API Keys, we need the 3 following keys:
- Publishable Key
- Secret Key
- **If a secret key is already present (verify this secret key is not used for Briq), it can only be viewed once. You MUST create a new secret key**
- Webhook
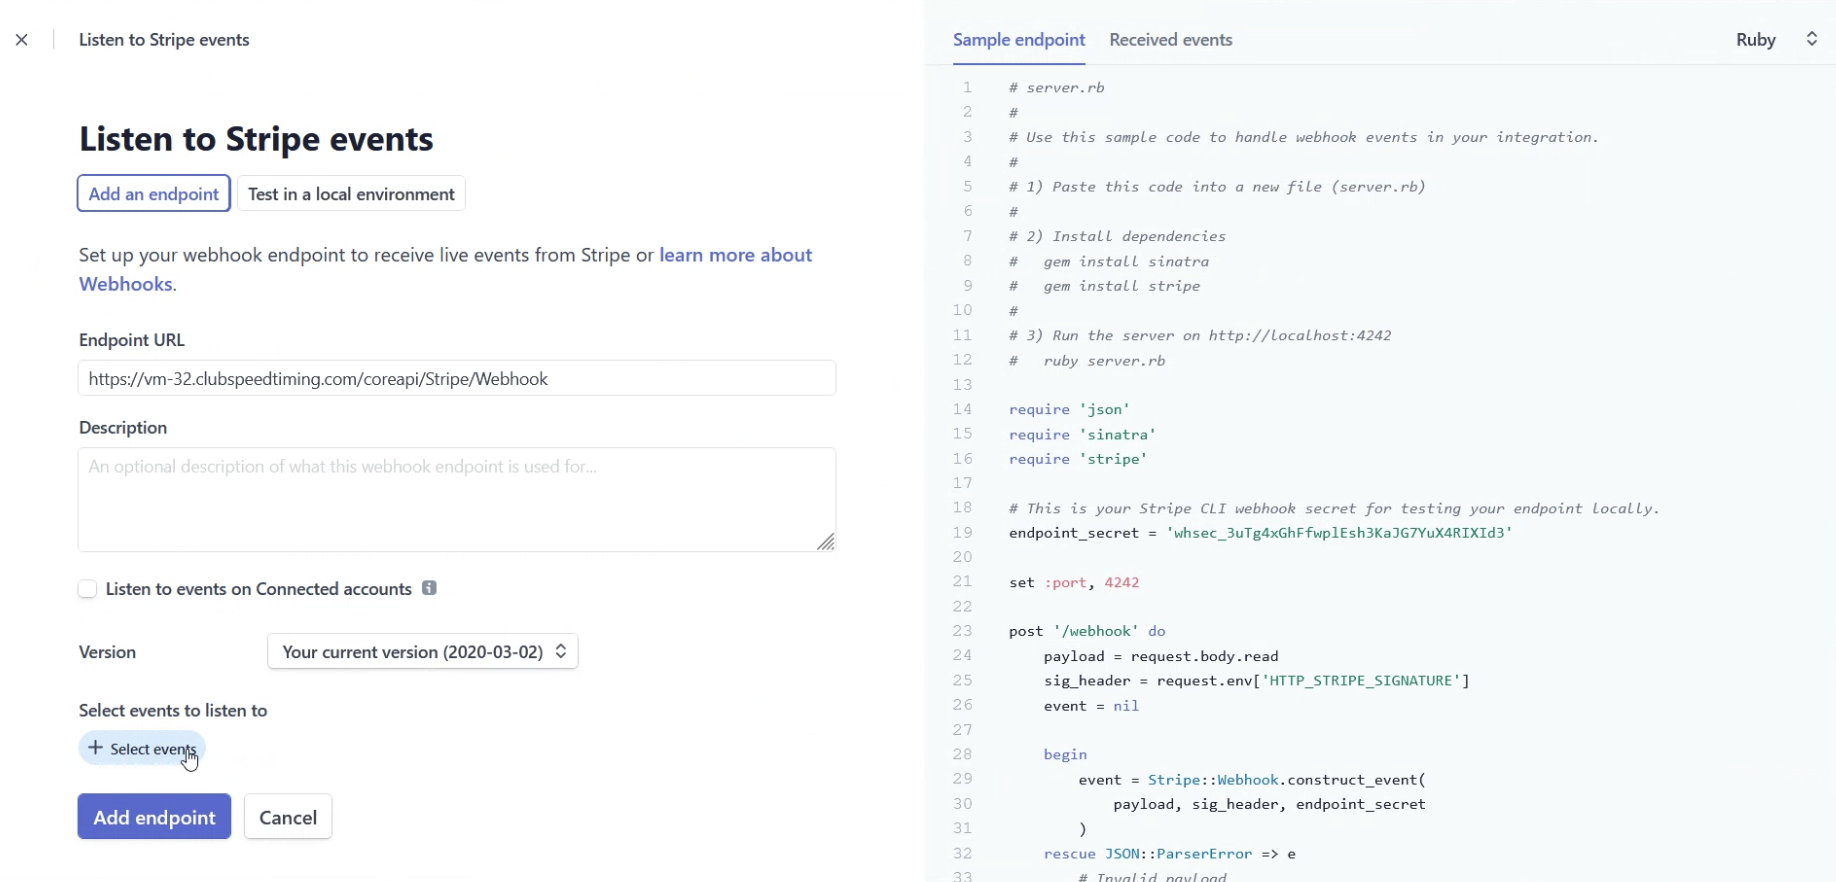
- To acquire the Webhook click Webhooks on the left below API Keys
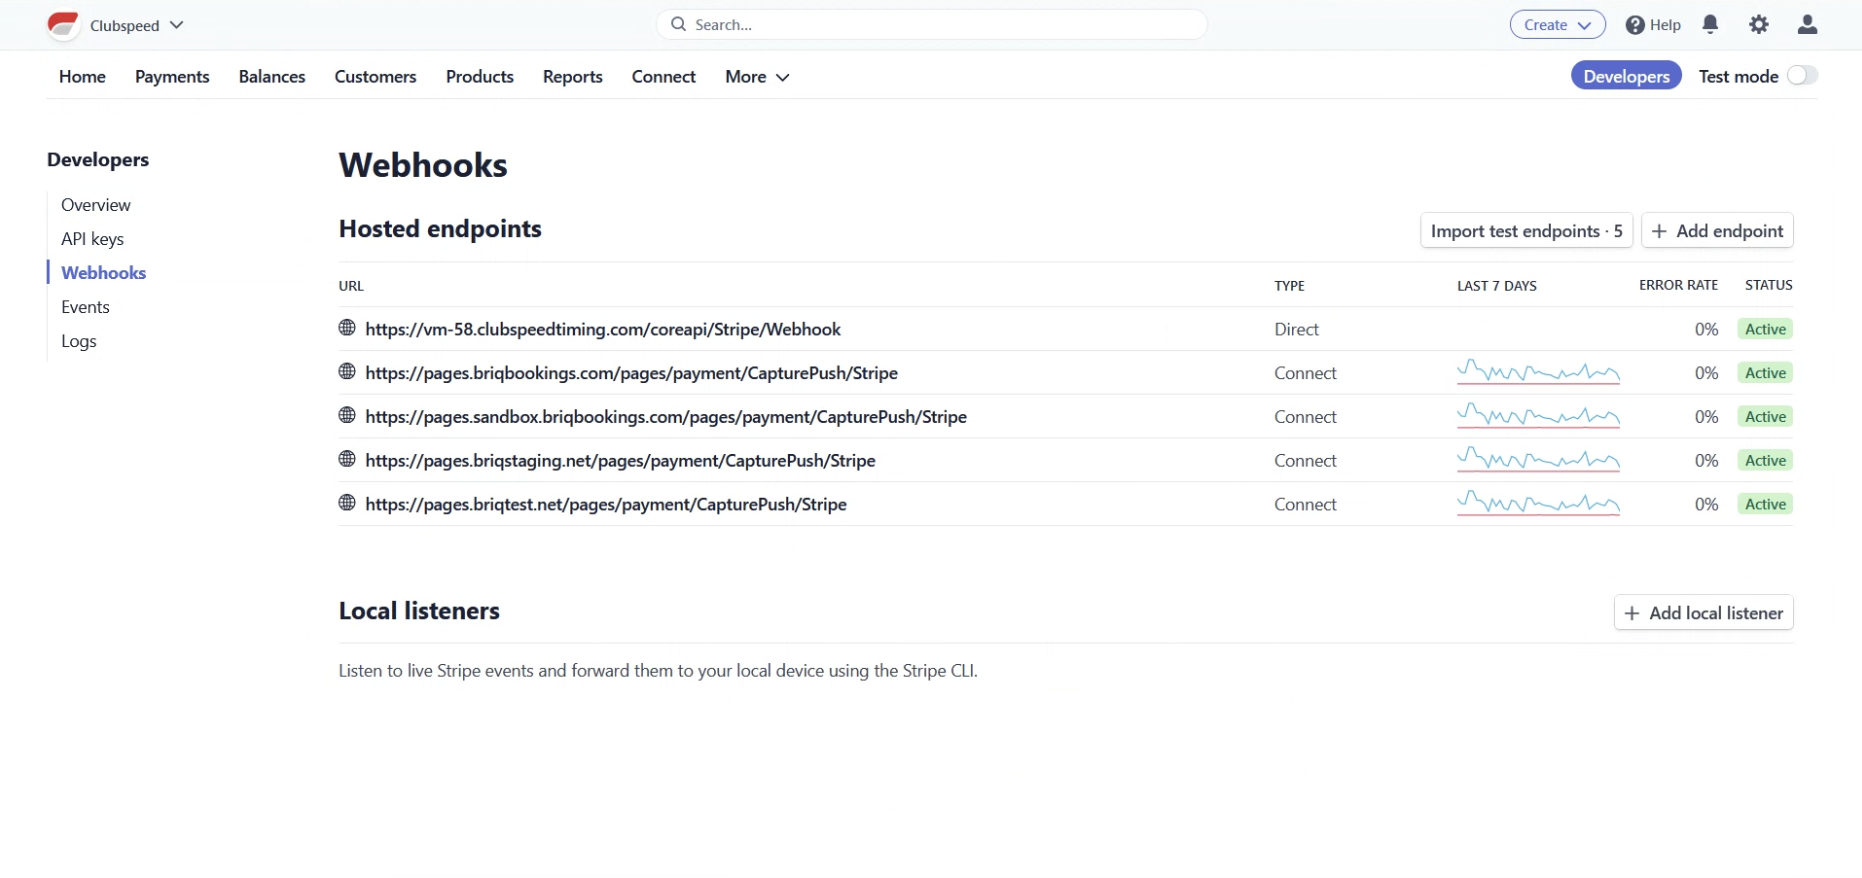
- Then click Add endpoint in the top right corner
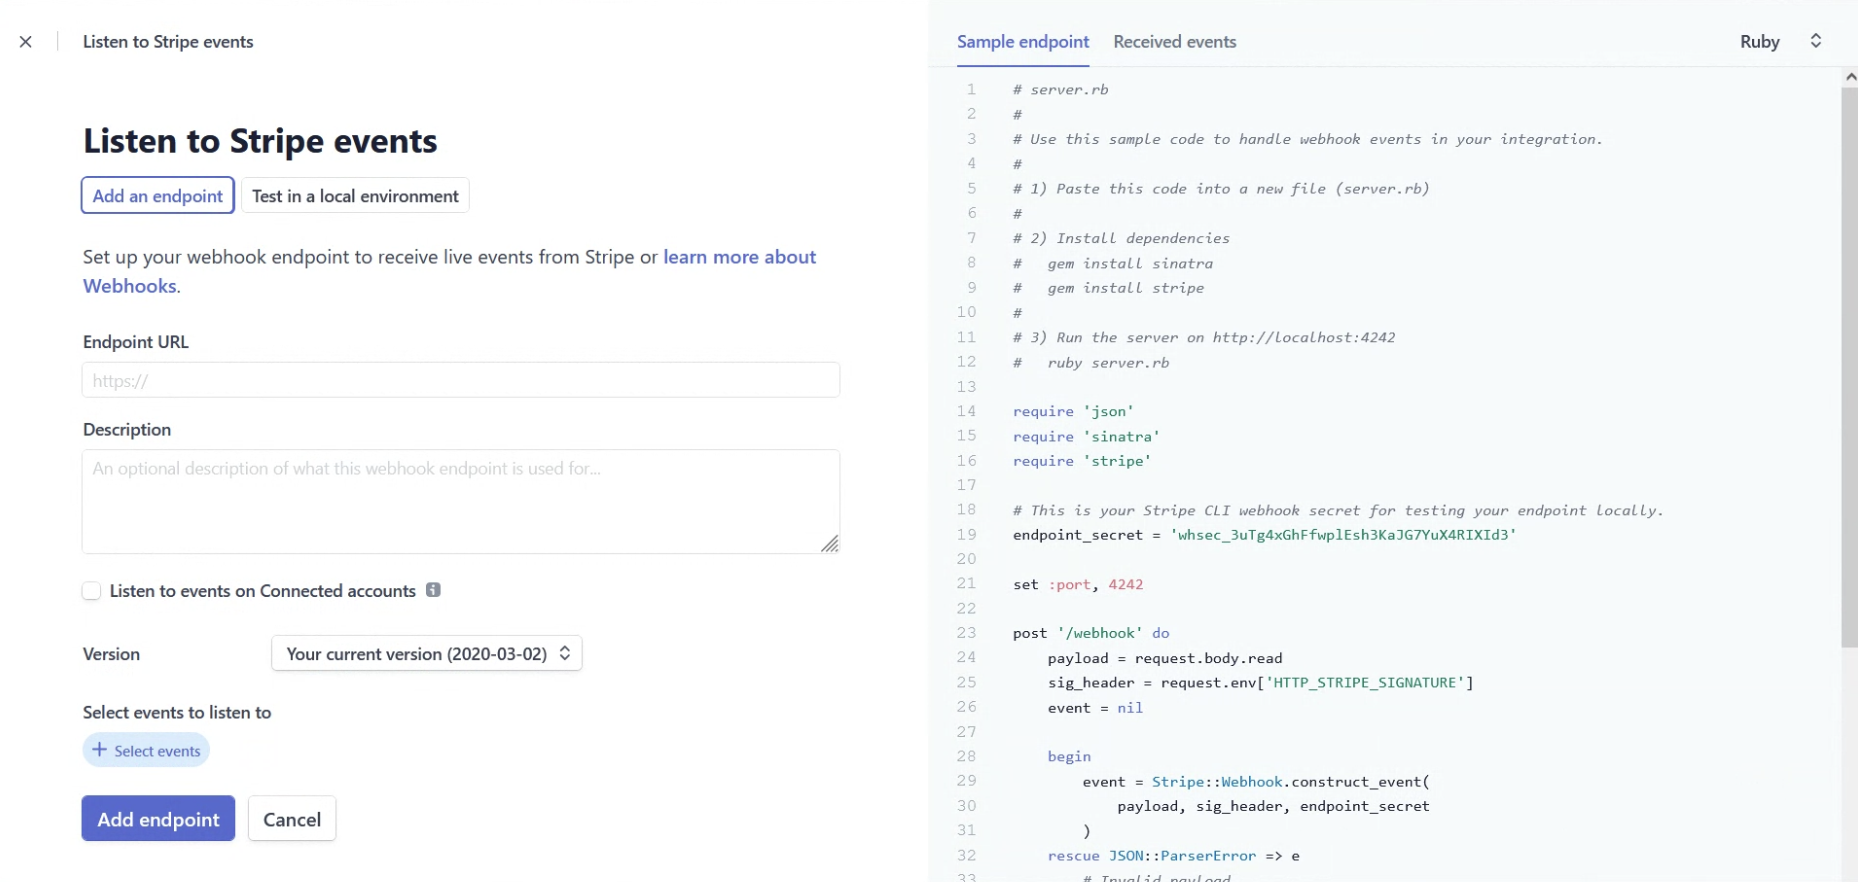
- Enter in the Endpoint URL i.e. (https://vm-32.clubspeedtiming.com/coreapi/Stripe/Webhook Insert Appropriate Domain Name)

- **Confirm domain is .clubspeed.com or .clubspeedtiming.com**
- Under Payment Intent, Choose Select all Payment Intent events
- Confirm all 7 are selected

- Now choose Payment Method
- Select all events for Payment Method as well
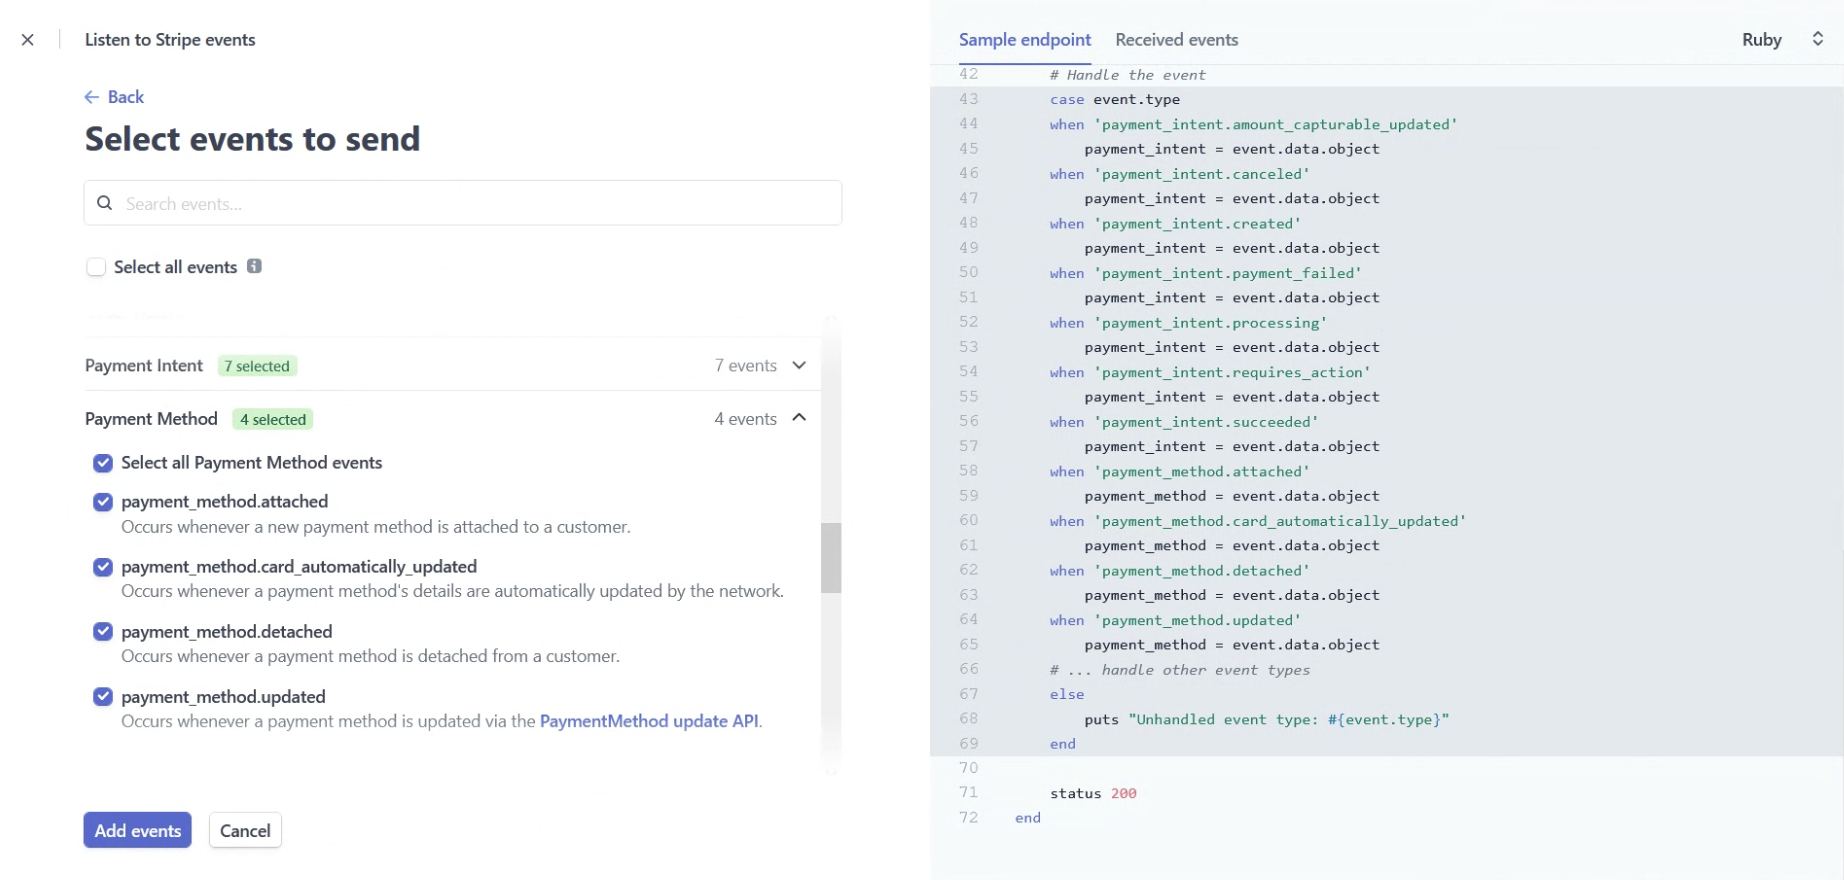
**Payment Intent and Payment Method events are the only required events to function**
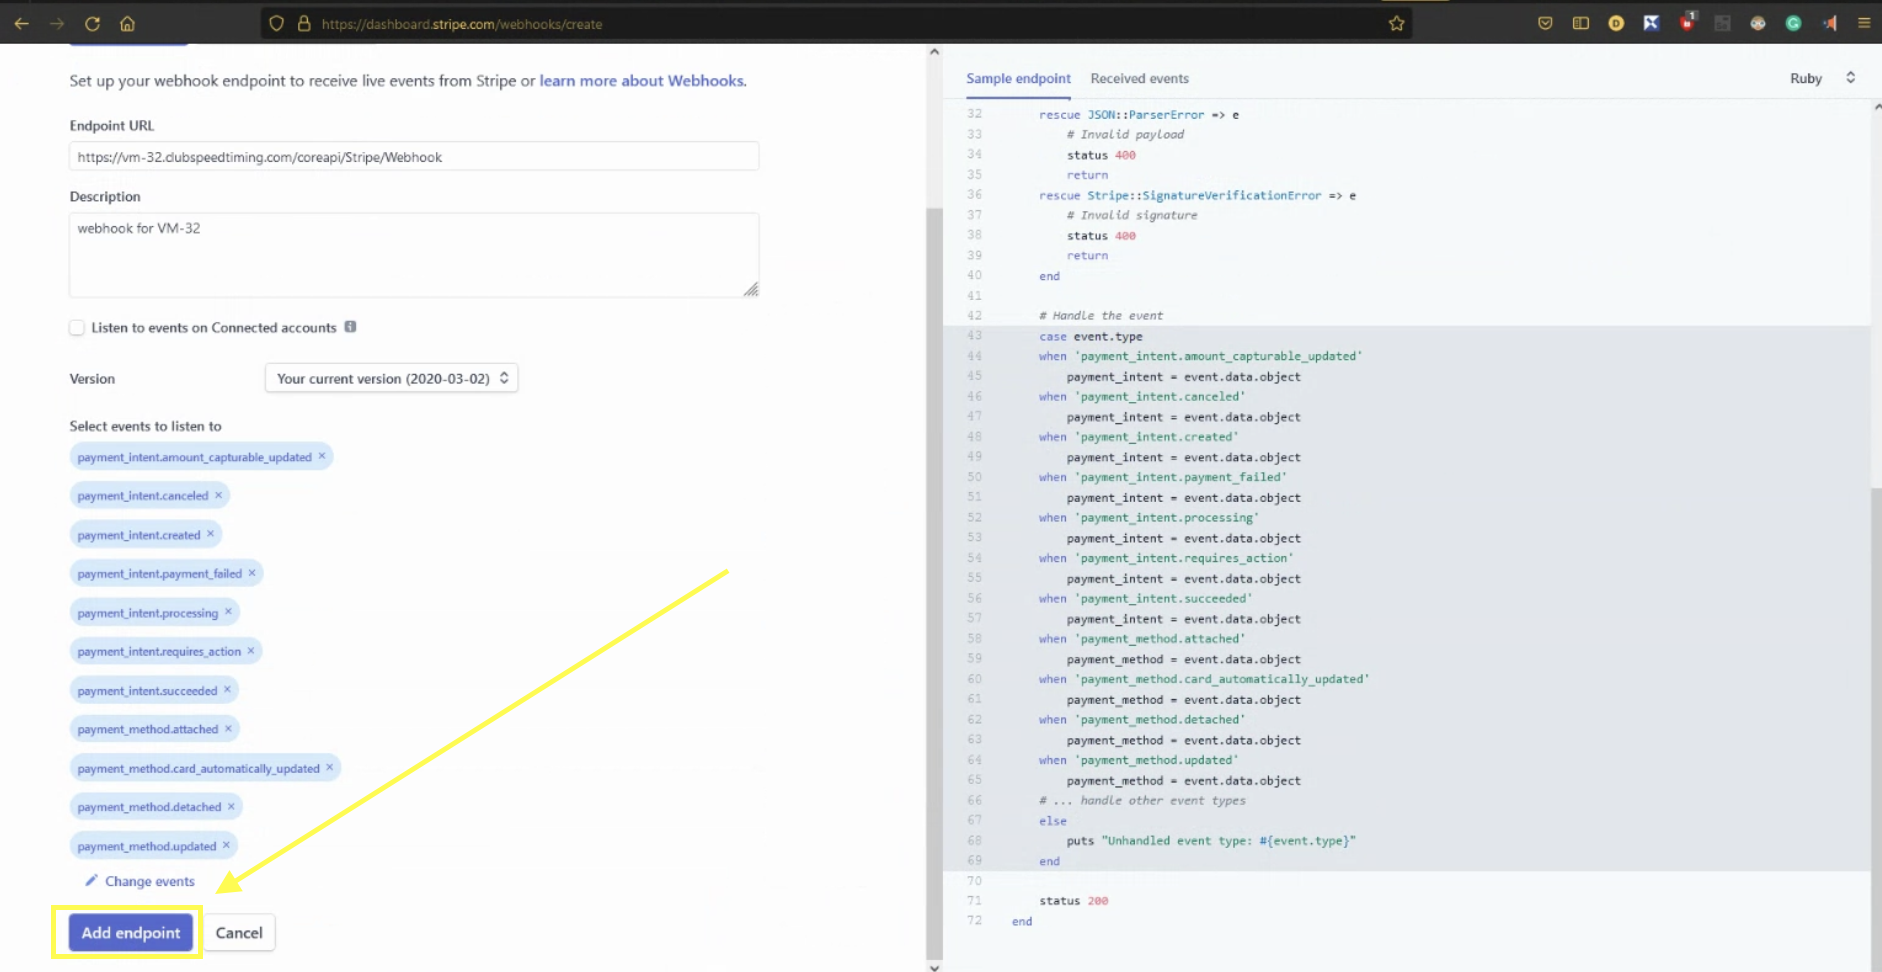
- Once you've added these events, scroll down and press Add endpoint
Click the Signing secret to reveal the StripeWebhookSigningSecret
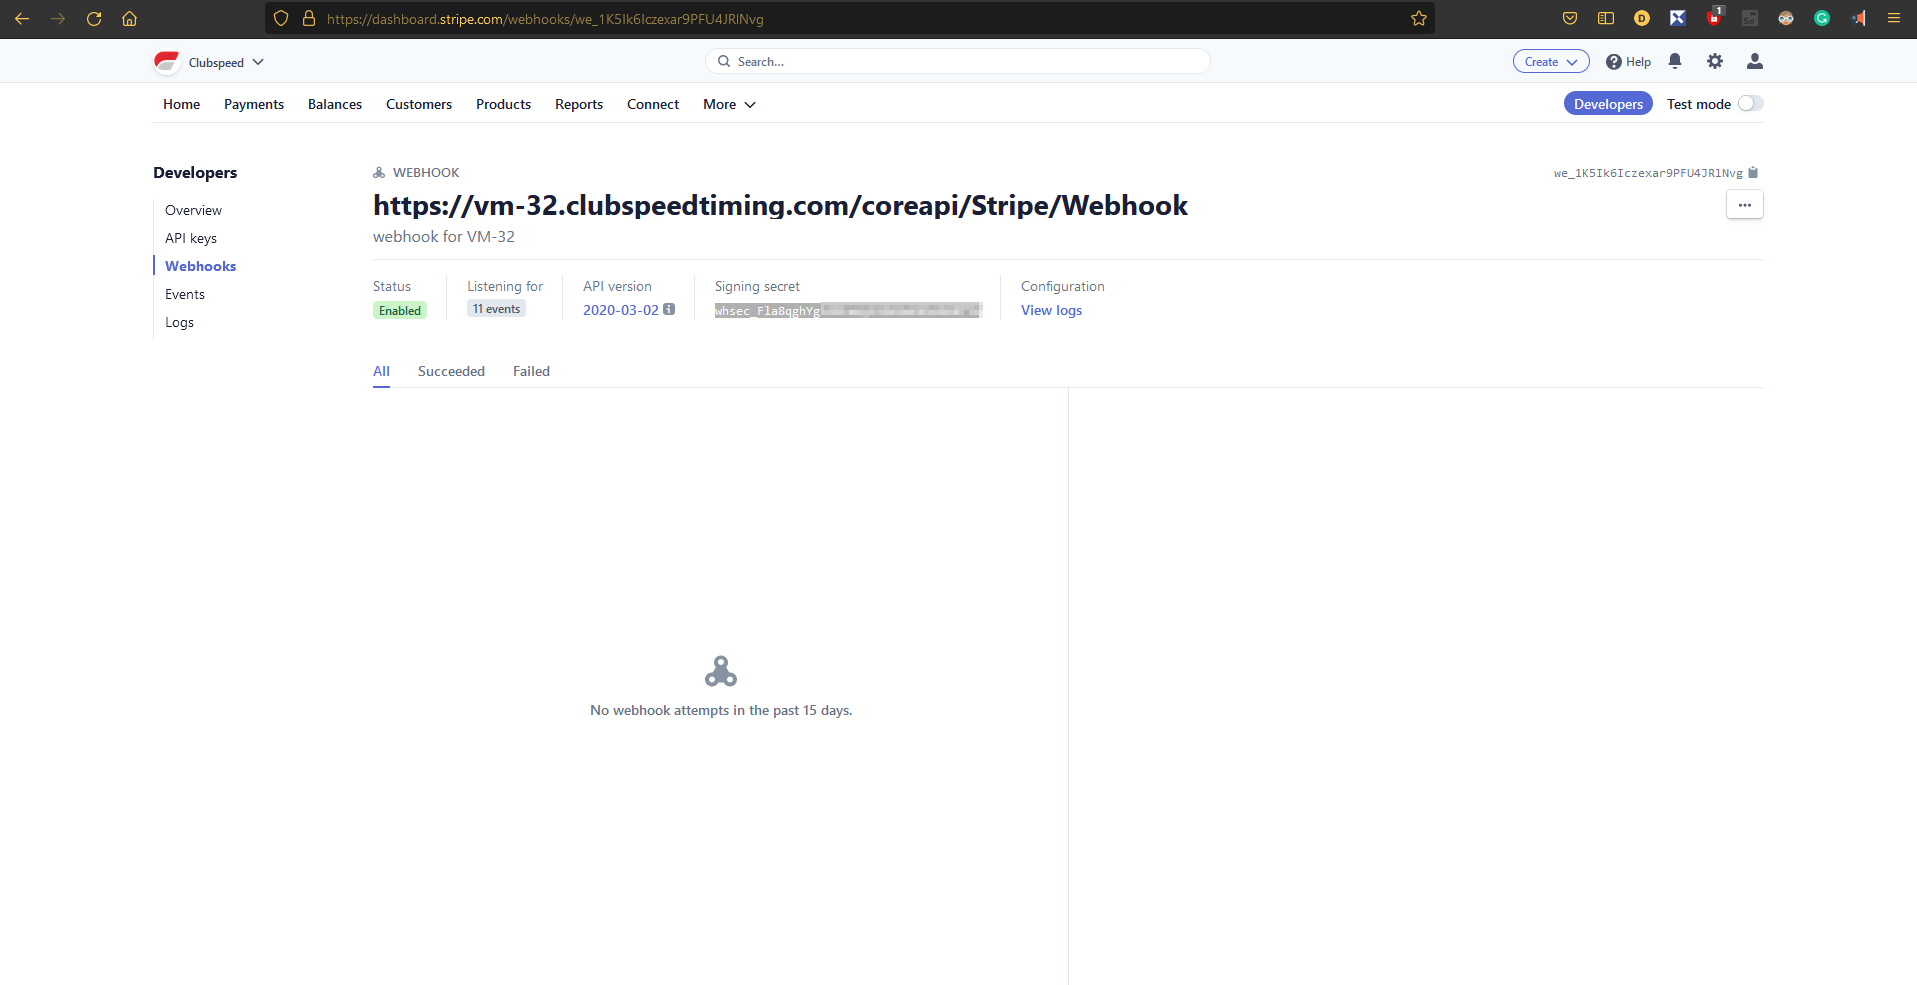
- Once you've obtained these values, they must be placed into SQL
- The values that need to be updated are below:
- *MAKE SURE 'BookingPaymentProcessor' is set to use STRIPE*
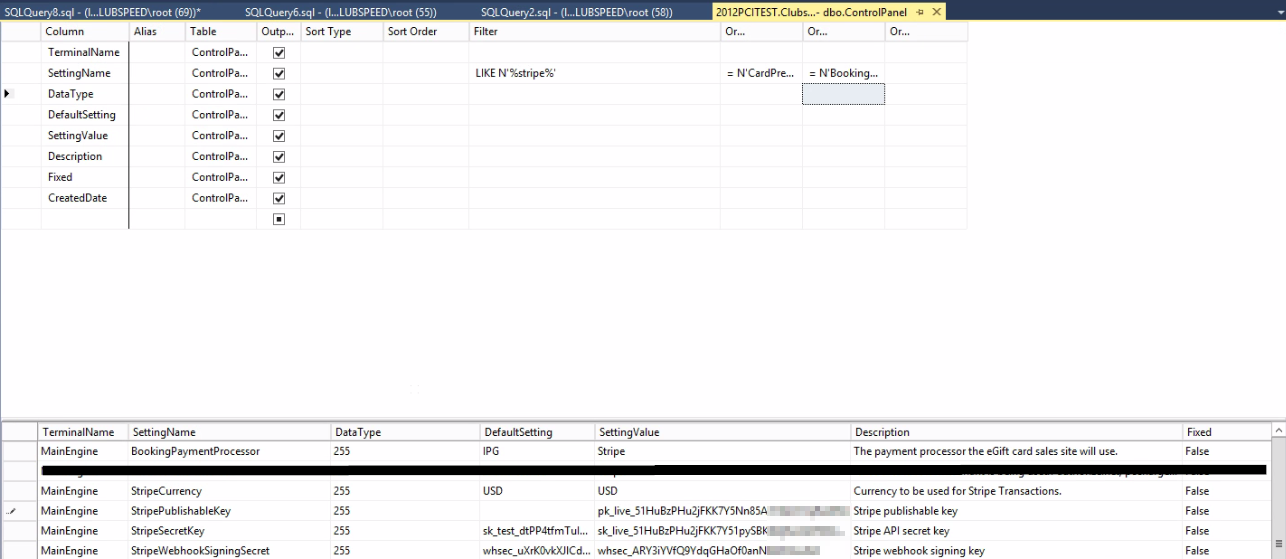
***Make sure Currency also reflects the correct country***
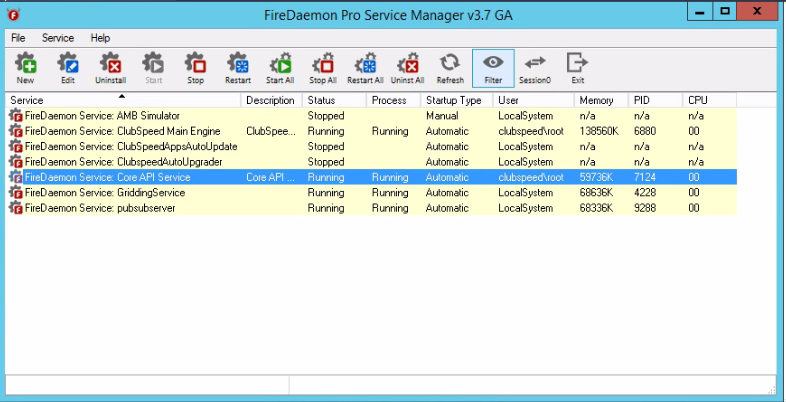
Restart Services
- Once these settings have been updated, go to FireDaemon and restart the following services:
- MainEngine
- CoreAPIService
Restart IIS
- Restart IIS