Convert Regular Check to an Event Check
Did a guest ring you up to quote you for a party reservation and then decides to book? GREAT!
Let's turn that regular check into a Reservation check and link it to the Calendar block.
TABLE OF CONTENTS
- Step 1: Build Guest Quote
- Step 2: Create Calendar Event
- Step 3: Convert To Event Check
- Step 4: View Event Reservation
Step 1: Build Guest Quote
// Instead of creating an entire event for someone who only wants a price quote, let's start by creating a regular check.
- In the POS, add all necessary items to a Regular Check.
Step 2: Create Calendar Event
// Now that the customer is ready to book a date, let's jump to the calendar and add the block to save the spot!
- Complete Step 1 in this article if you haven't created an event before.
- SAVE the Event with the basic information!
- Now, re-open the event reservation window and you will see the Event Information # in the top left corner. Write this down, or memorize it :)

Step 3: Convert To Event Check
// Now that we have the Check & Event created, let's link them together!
- Navigate back to the POS, and view your check.
- Click the last button on the Check Menu " To Event"

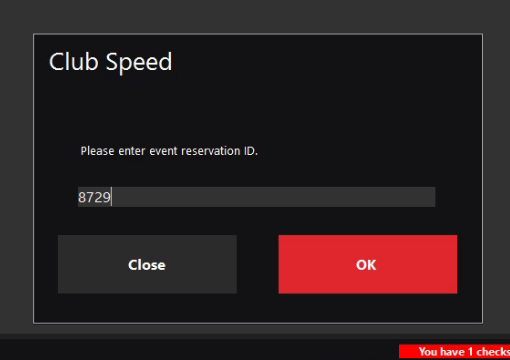
- It will prompt you to enter in the Reservation ID (Event Information ID from step 2)

- Now, it will ask you to assign a customer account. Either search for an existing account or create a new one. (Step 2 in the article)

- Lastly, confirm all details on the Check info is correct, and click SAVE!

- You can now see that the check has been converted to an Event Check
- Event Name at the top of the check
- Customer Name in Notes Section
- Reservation Check at the bottom

Step 4: View Event Reservation
// You did it! Now to complete the rest of the event details.
- Click the Return to Event Button in the top right of the POS. (Back Arrow)
- This will bring the Event Reservation Window back into view.
- You can now see the Check you created is linked to the Event.
- Now you can complete the rest of the Event Setup in the Calendar as usal.

