Wristband Printer Setup: Part 1
Note: Currently the only supported/tested Zebra printer model is the “Zebra ZD410” with a 203dpi, could also be referred to as ”ZD410-203dpi”.
-Links-
- Zebra ZD410 support page link:
- Download link for required zebra software:
- Download link for Zebra software from G-Drive:
- Website link to view Modified Template before printing:
Step 1: Hardware and Calibration
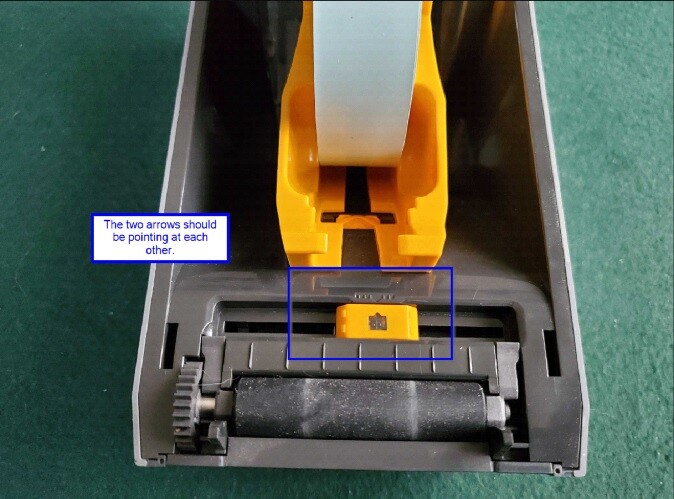
// First task would be to align the printer’s sensor with a marked arrow below the lid.
- This can be done by pulling on the notched located on each side of the printer and lifting the lid. You will see a yellow sensor that need to be pointing at a corresponding arrow.
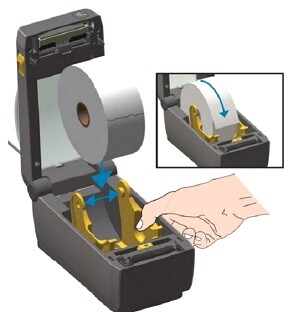
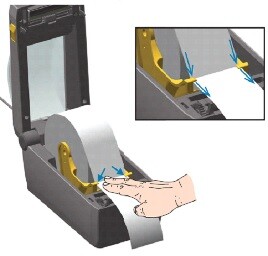
- Insert the wristband paper roll into the device with the roll being fed from top to bottom and close the lid with some of the roll hanging out of the printer.
- Plug both the power and Ethernet cable into the device. (Ethernet cable is not included with packaging)
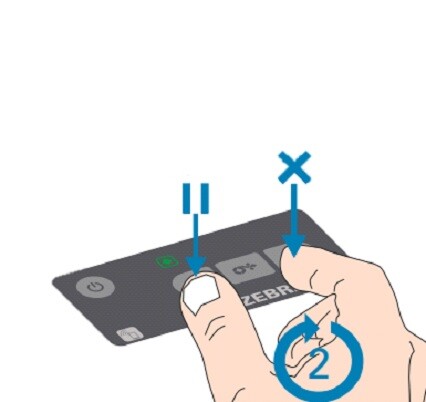
- Press the power button to run on the printer, and the pause button should glow orange press it once so I can adjust to the length of the paper.
- Once the pause button is no longer orange, hold down both the pause and cancel button for 2 seconds. This will start a smart calibration to adjust the width of the paper, should print 1 -2 pages(blank).
**Click here to go to Step 2: Required software installation and setup