Sending Surveys
How to get your survey in front of your customers
Emailing Surveys
// Please refer to 'Email Templates' article for beginning details...
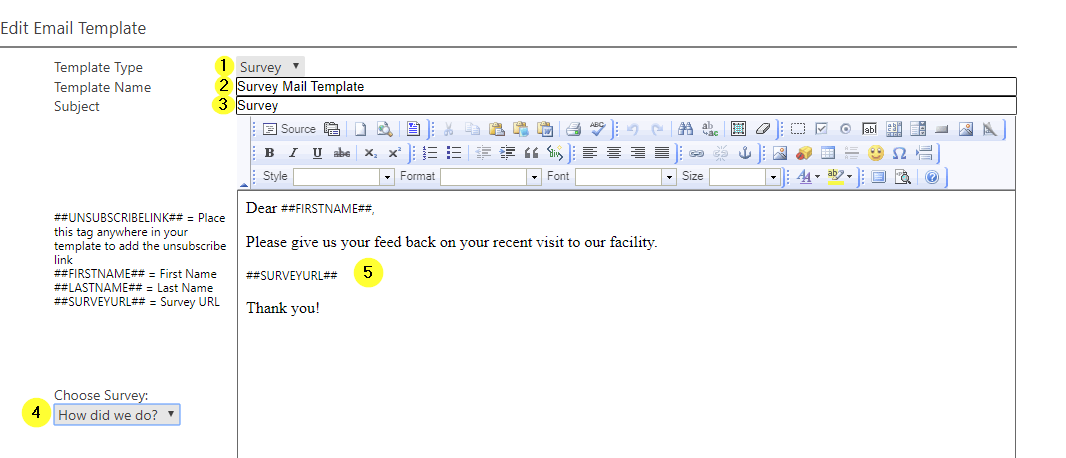
1. In the Template Type drop down select “Survey”
2. Name your Template (in house)
3. Enter in the Subject field (customer facing).
4. Select the survey you'd like to attach to this email in the drop down on the left.
5. You can now copy and paste in a word document or use the html editor and create the document in HTML.
// To the left, is a key that holds the codes to automatically draw info from the customer's profile, that way the email looks to be custom made every time.
##FIRSTNAME## = First Name
##LASTNAME## = Last Name
##SURVEYURL## = Survey URL
6. SAVE, and send yourself a test e-mail.
Sending Survey with Heat Results
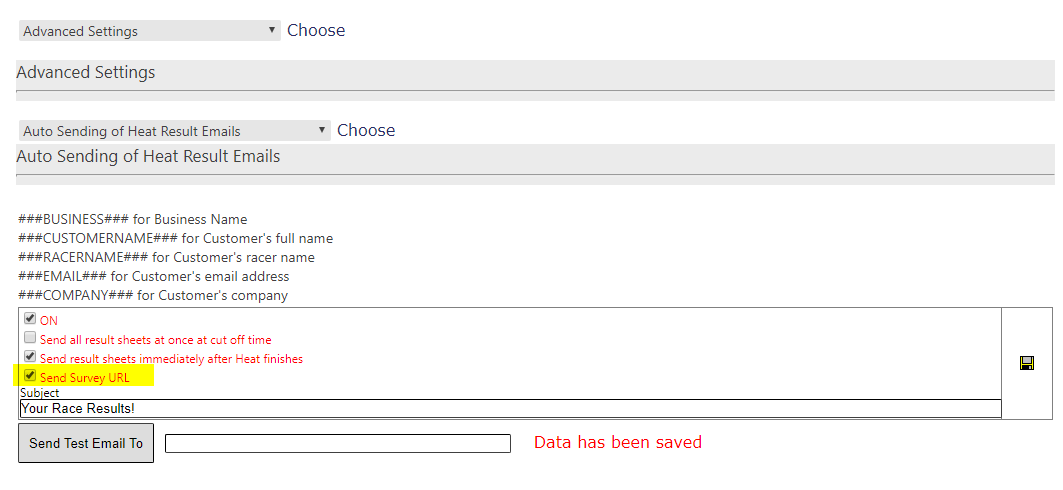
You now can send a survey with your heat results at the end of the night. Just go to “Settings”, “Advanced Settings”, and select “Auto Sending Heat Results”. As long as you have a survey already created and set as your default survey you can check off the box here to “Send Survey URL”.
Sending Survey via Receipt
// Print automatically on ALL receipts
1.Settings
2.Control Panel
3.Select Main Engine
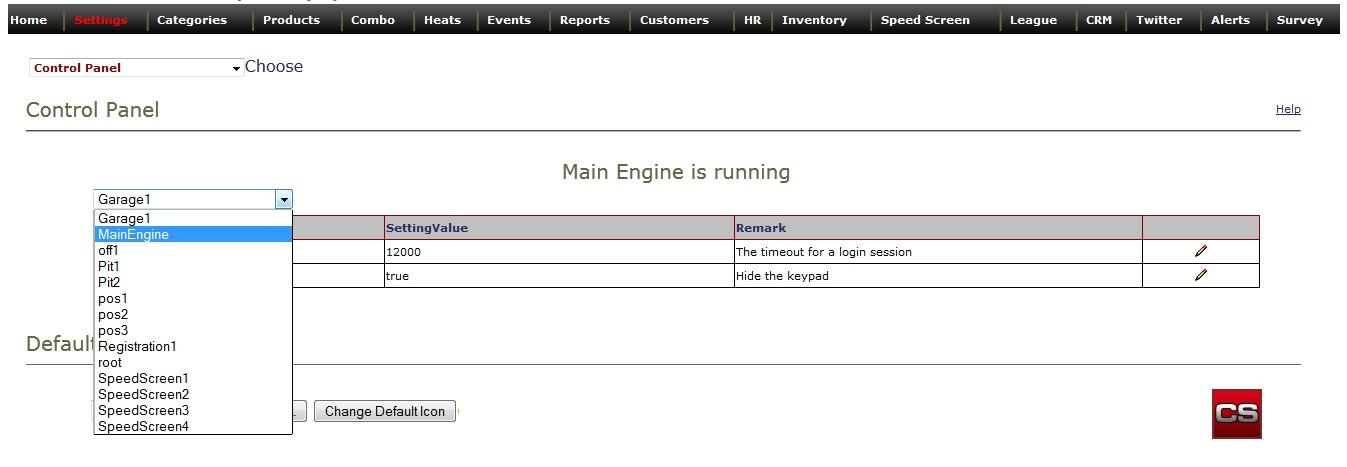
Step 3 will bring you to this page.
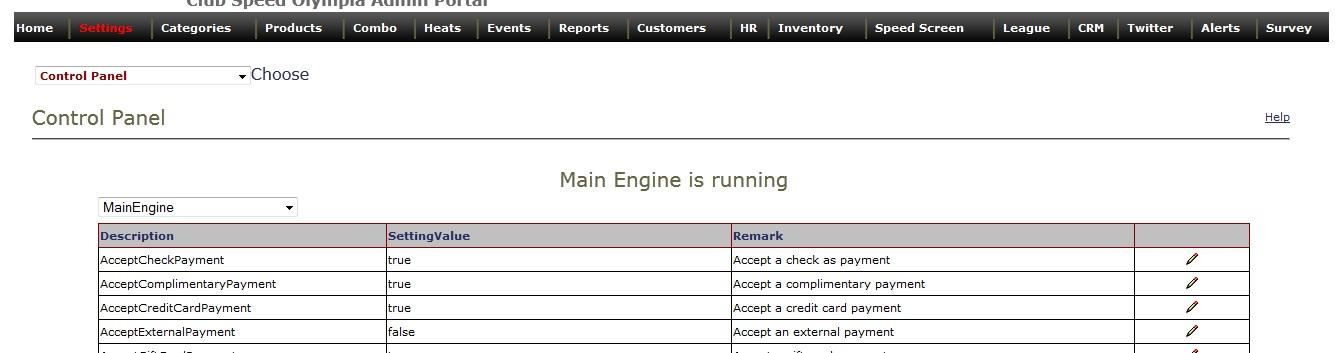
Scroll down to “Receipt footer survey text”. Edit. Enter (CAPSLOCK on) ##SURVEYURL## … SAVE!
In order for this to take effect you need to wait for your main engine to reset the next morning.

Your Survey link will now print at the bottom of every receipt.
**The access code pulls the customer’s information with the survey instead if it being from an anonymous user.
// Manually Print Survey on Select Receipts
You can also send the survey directly to the customer’s email through the POS.
Click the “View Receipt” icon.
You can either “Send” the entire receipt to their email, or you can just “Send Survey”.
