PartnerTech POS Setup and Images
This Guide will walk you through setting up a new PartnerTech POS system.
TABLE OF CONTENTS
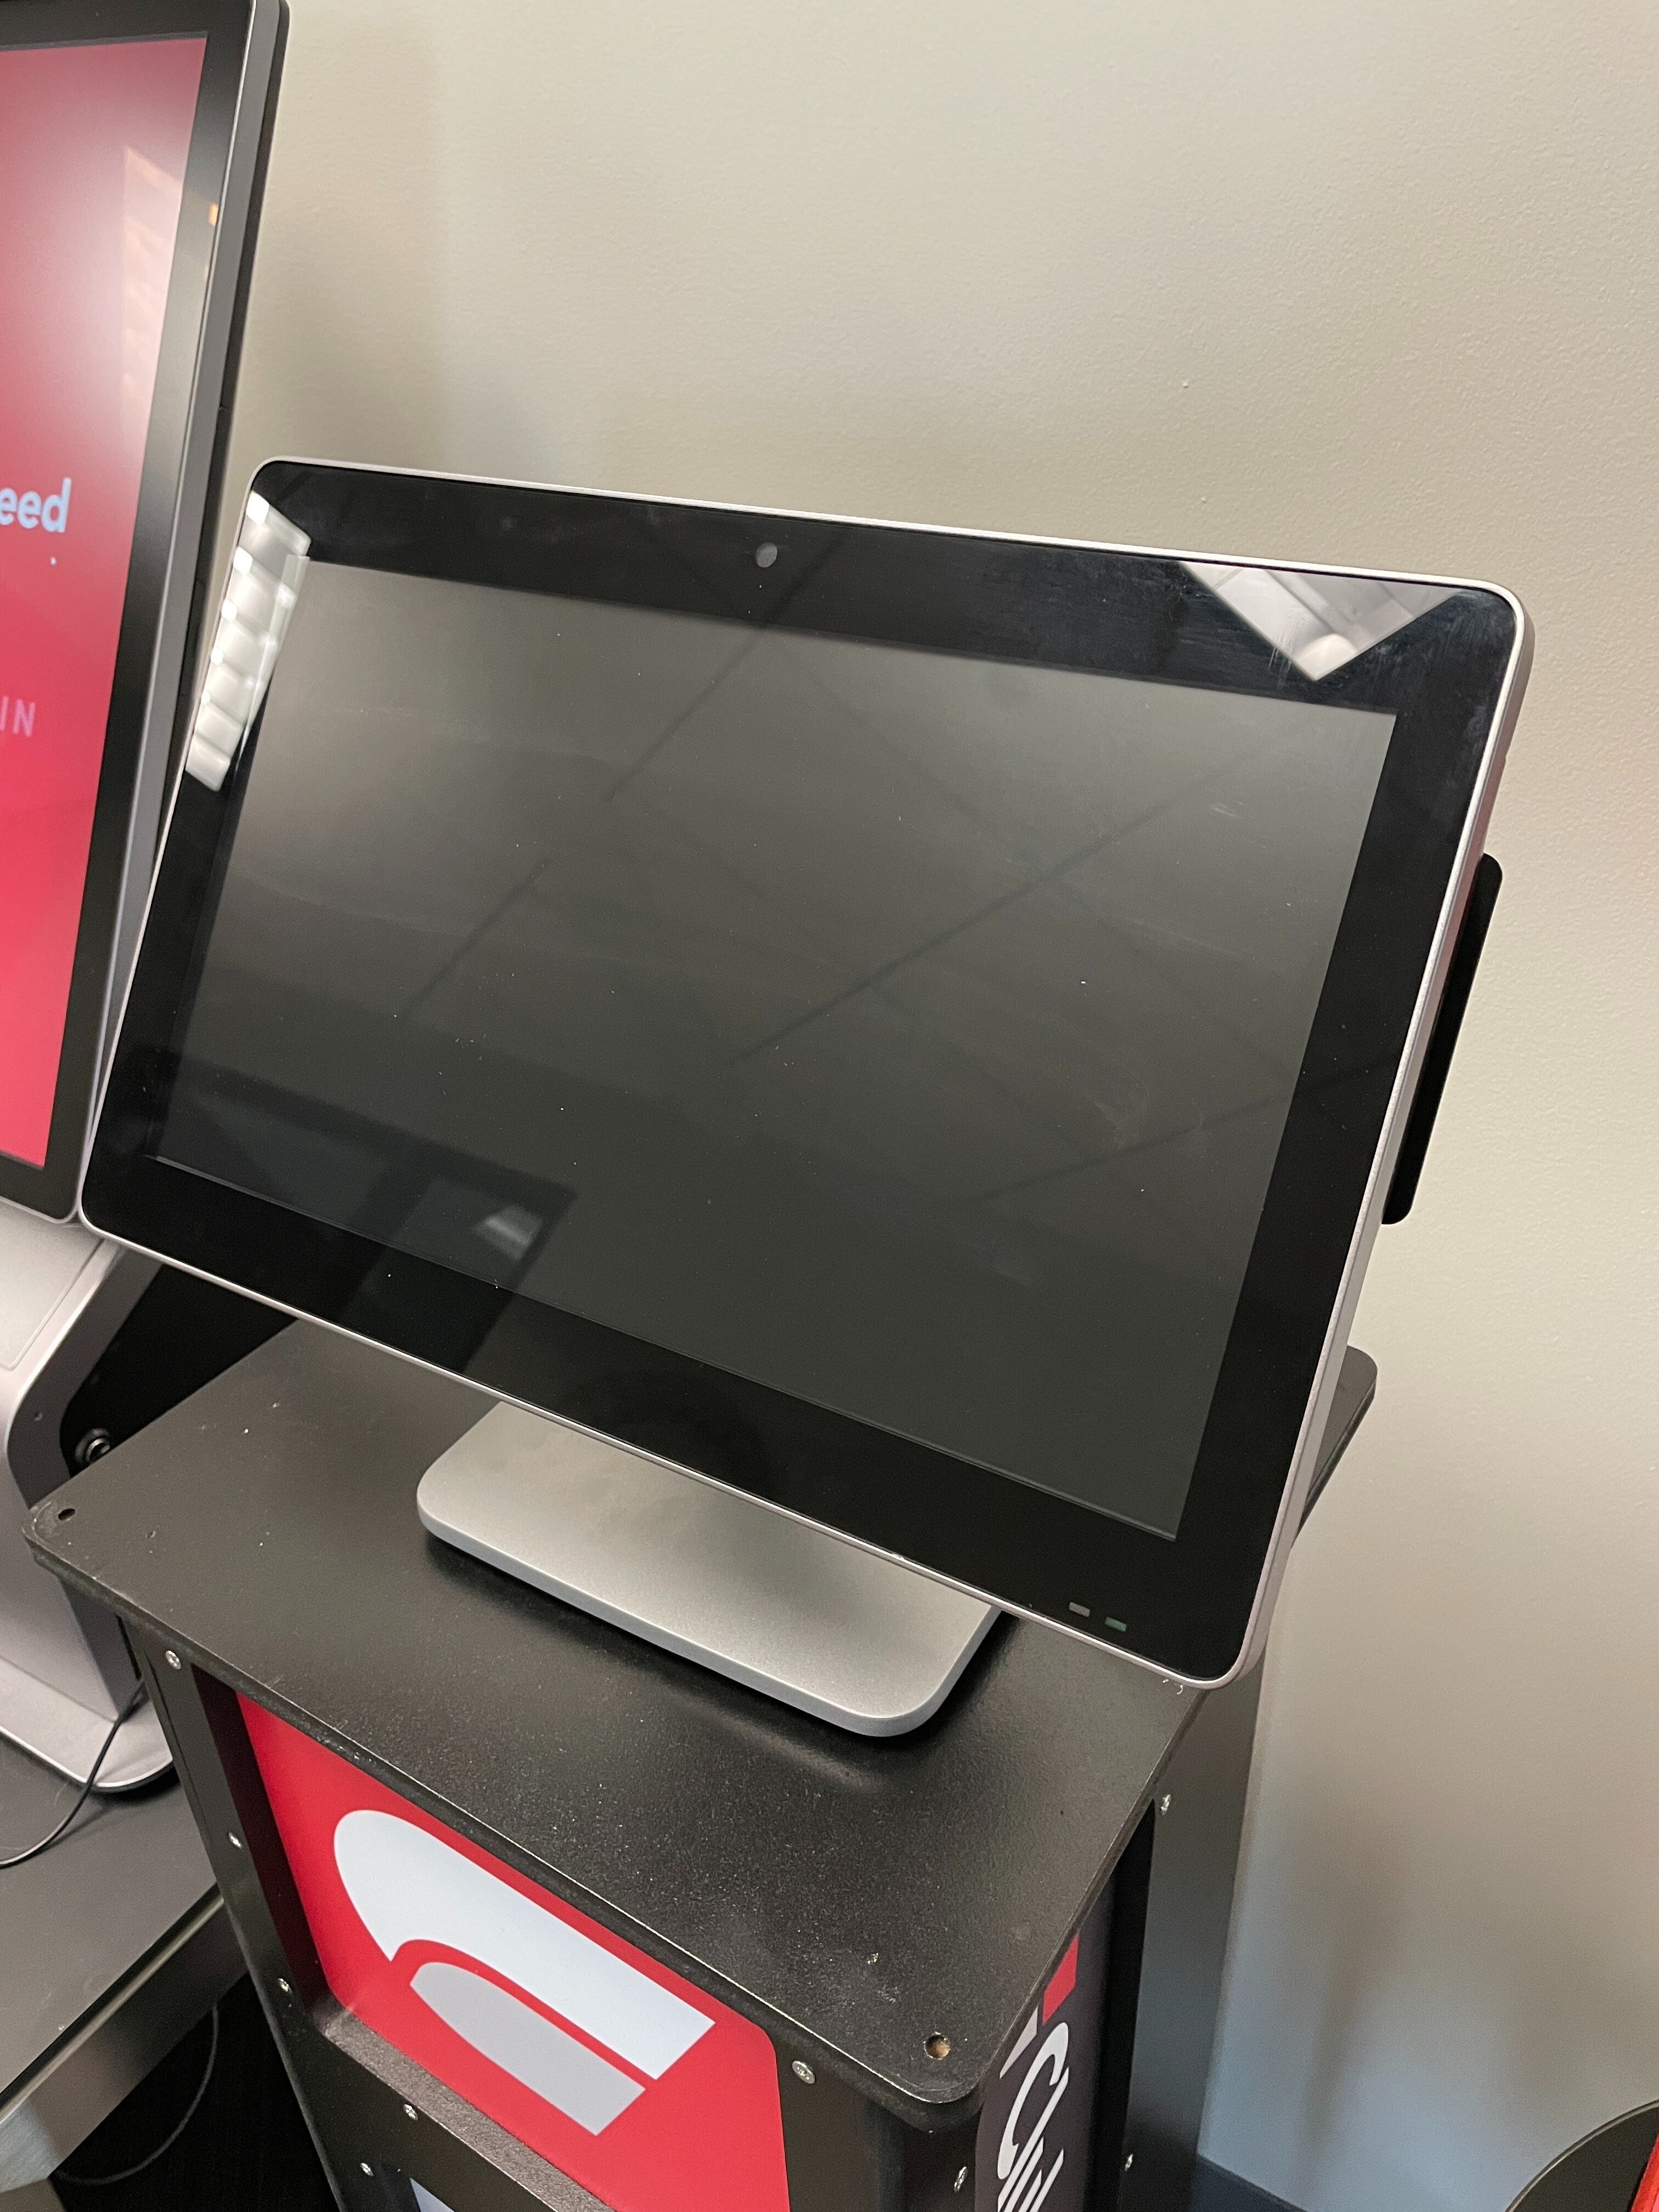
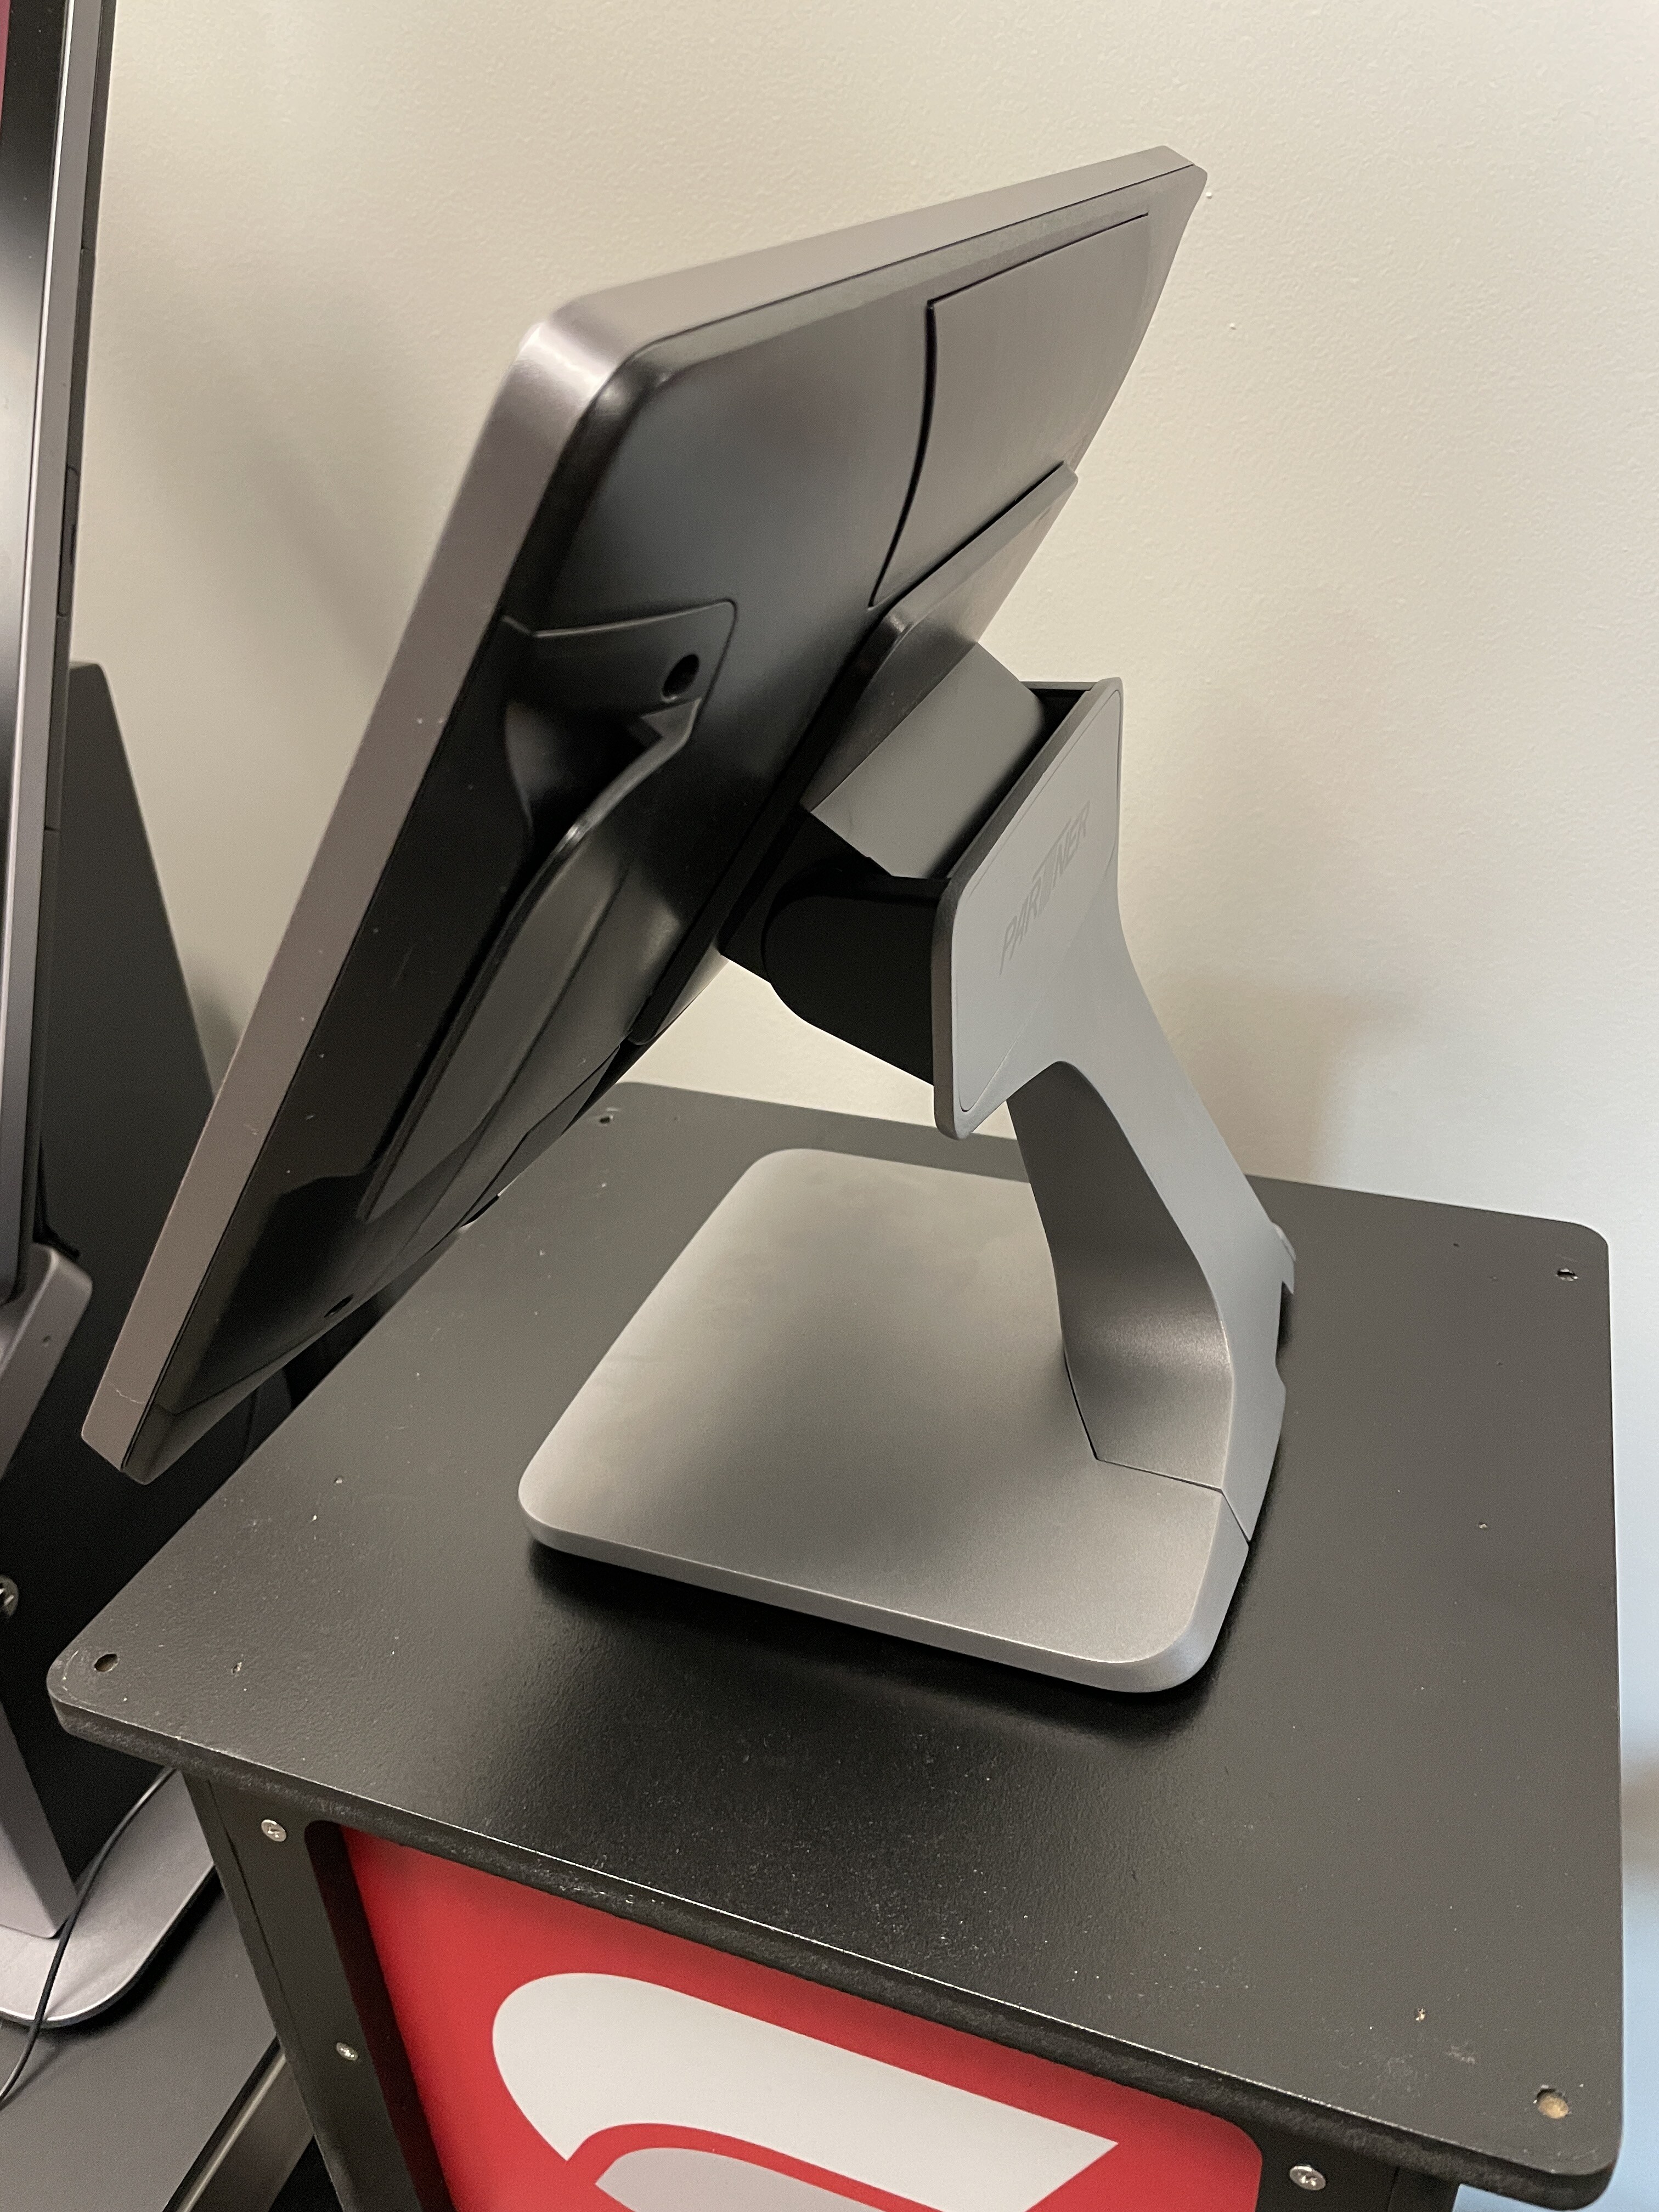
Gallery:

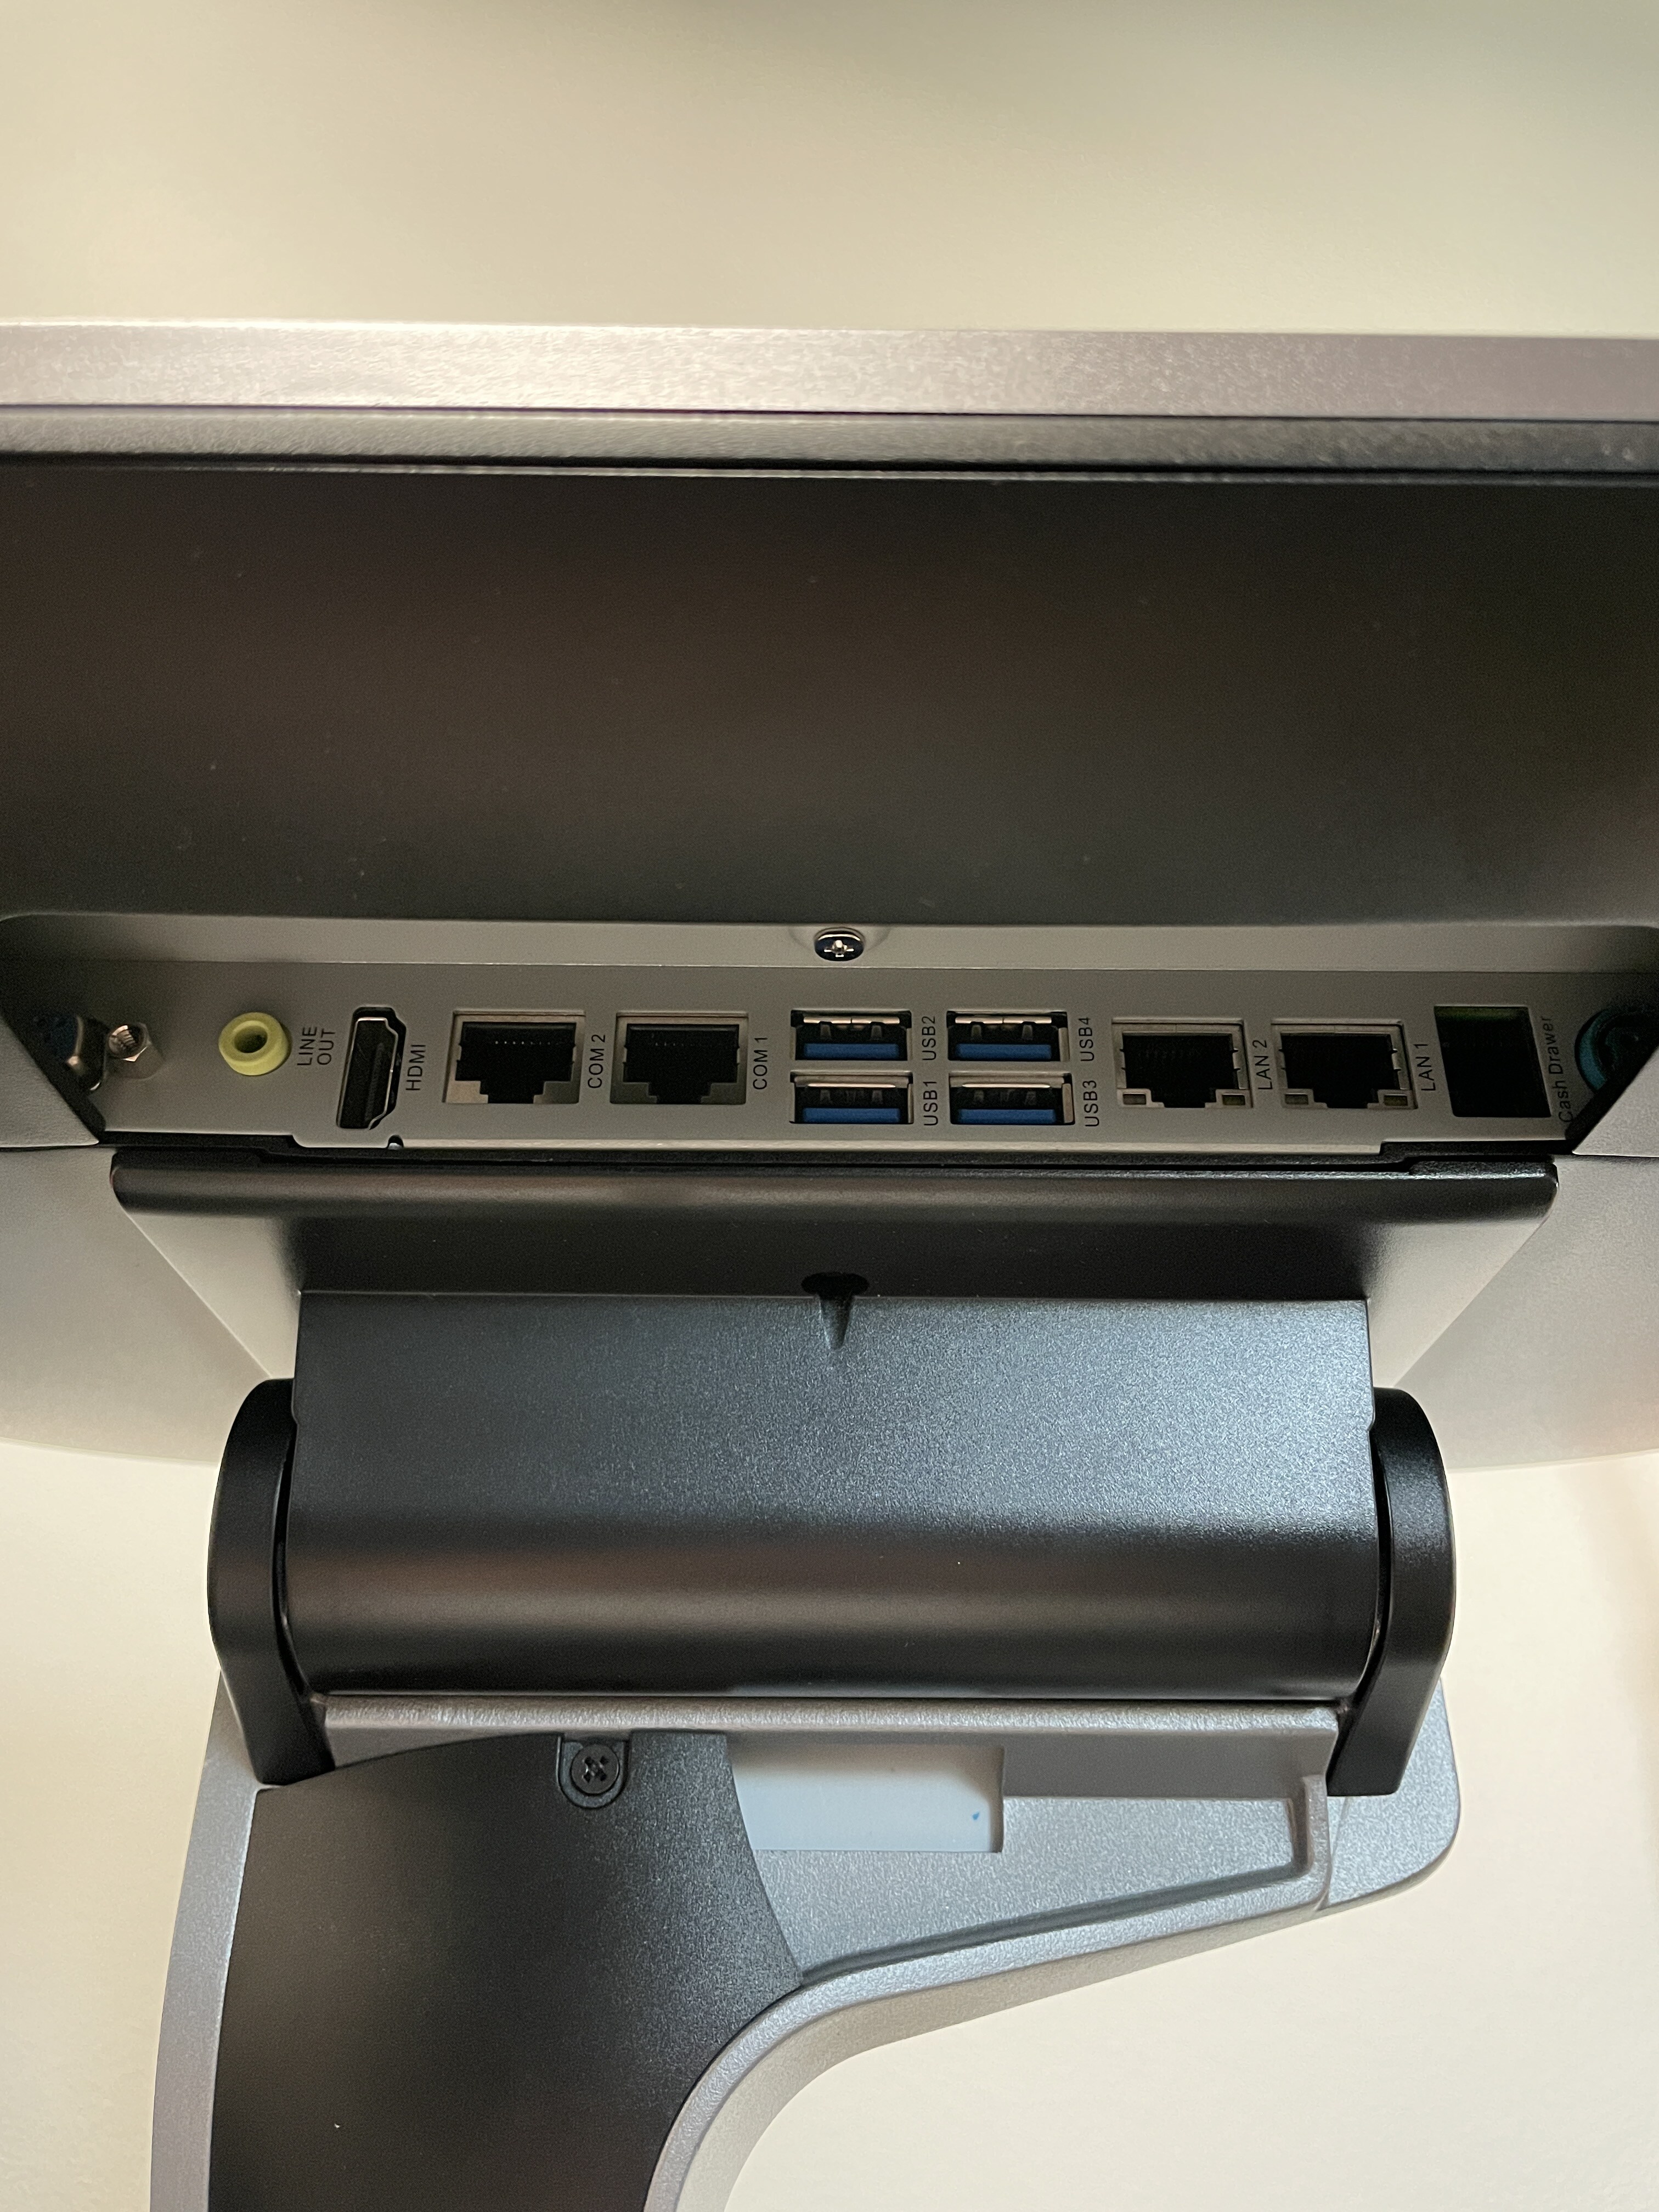
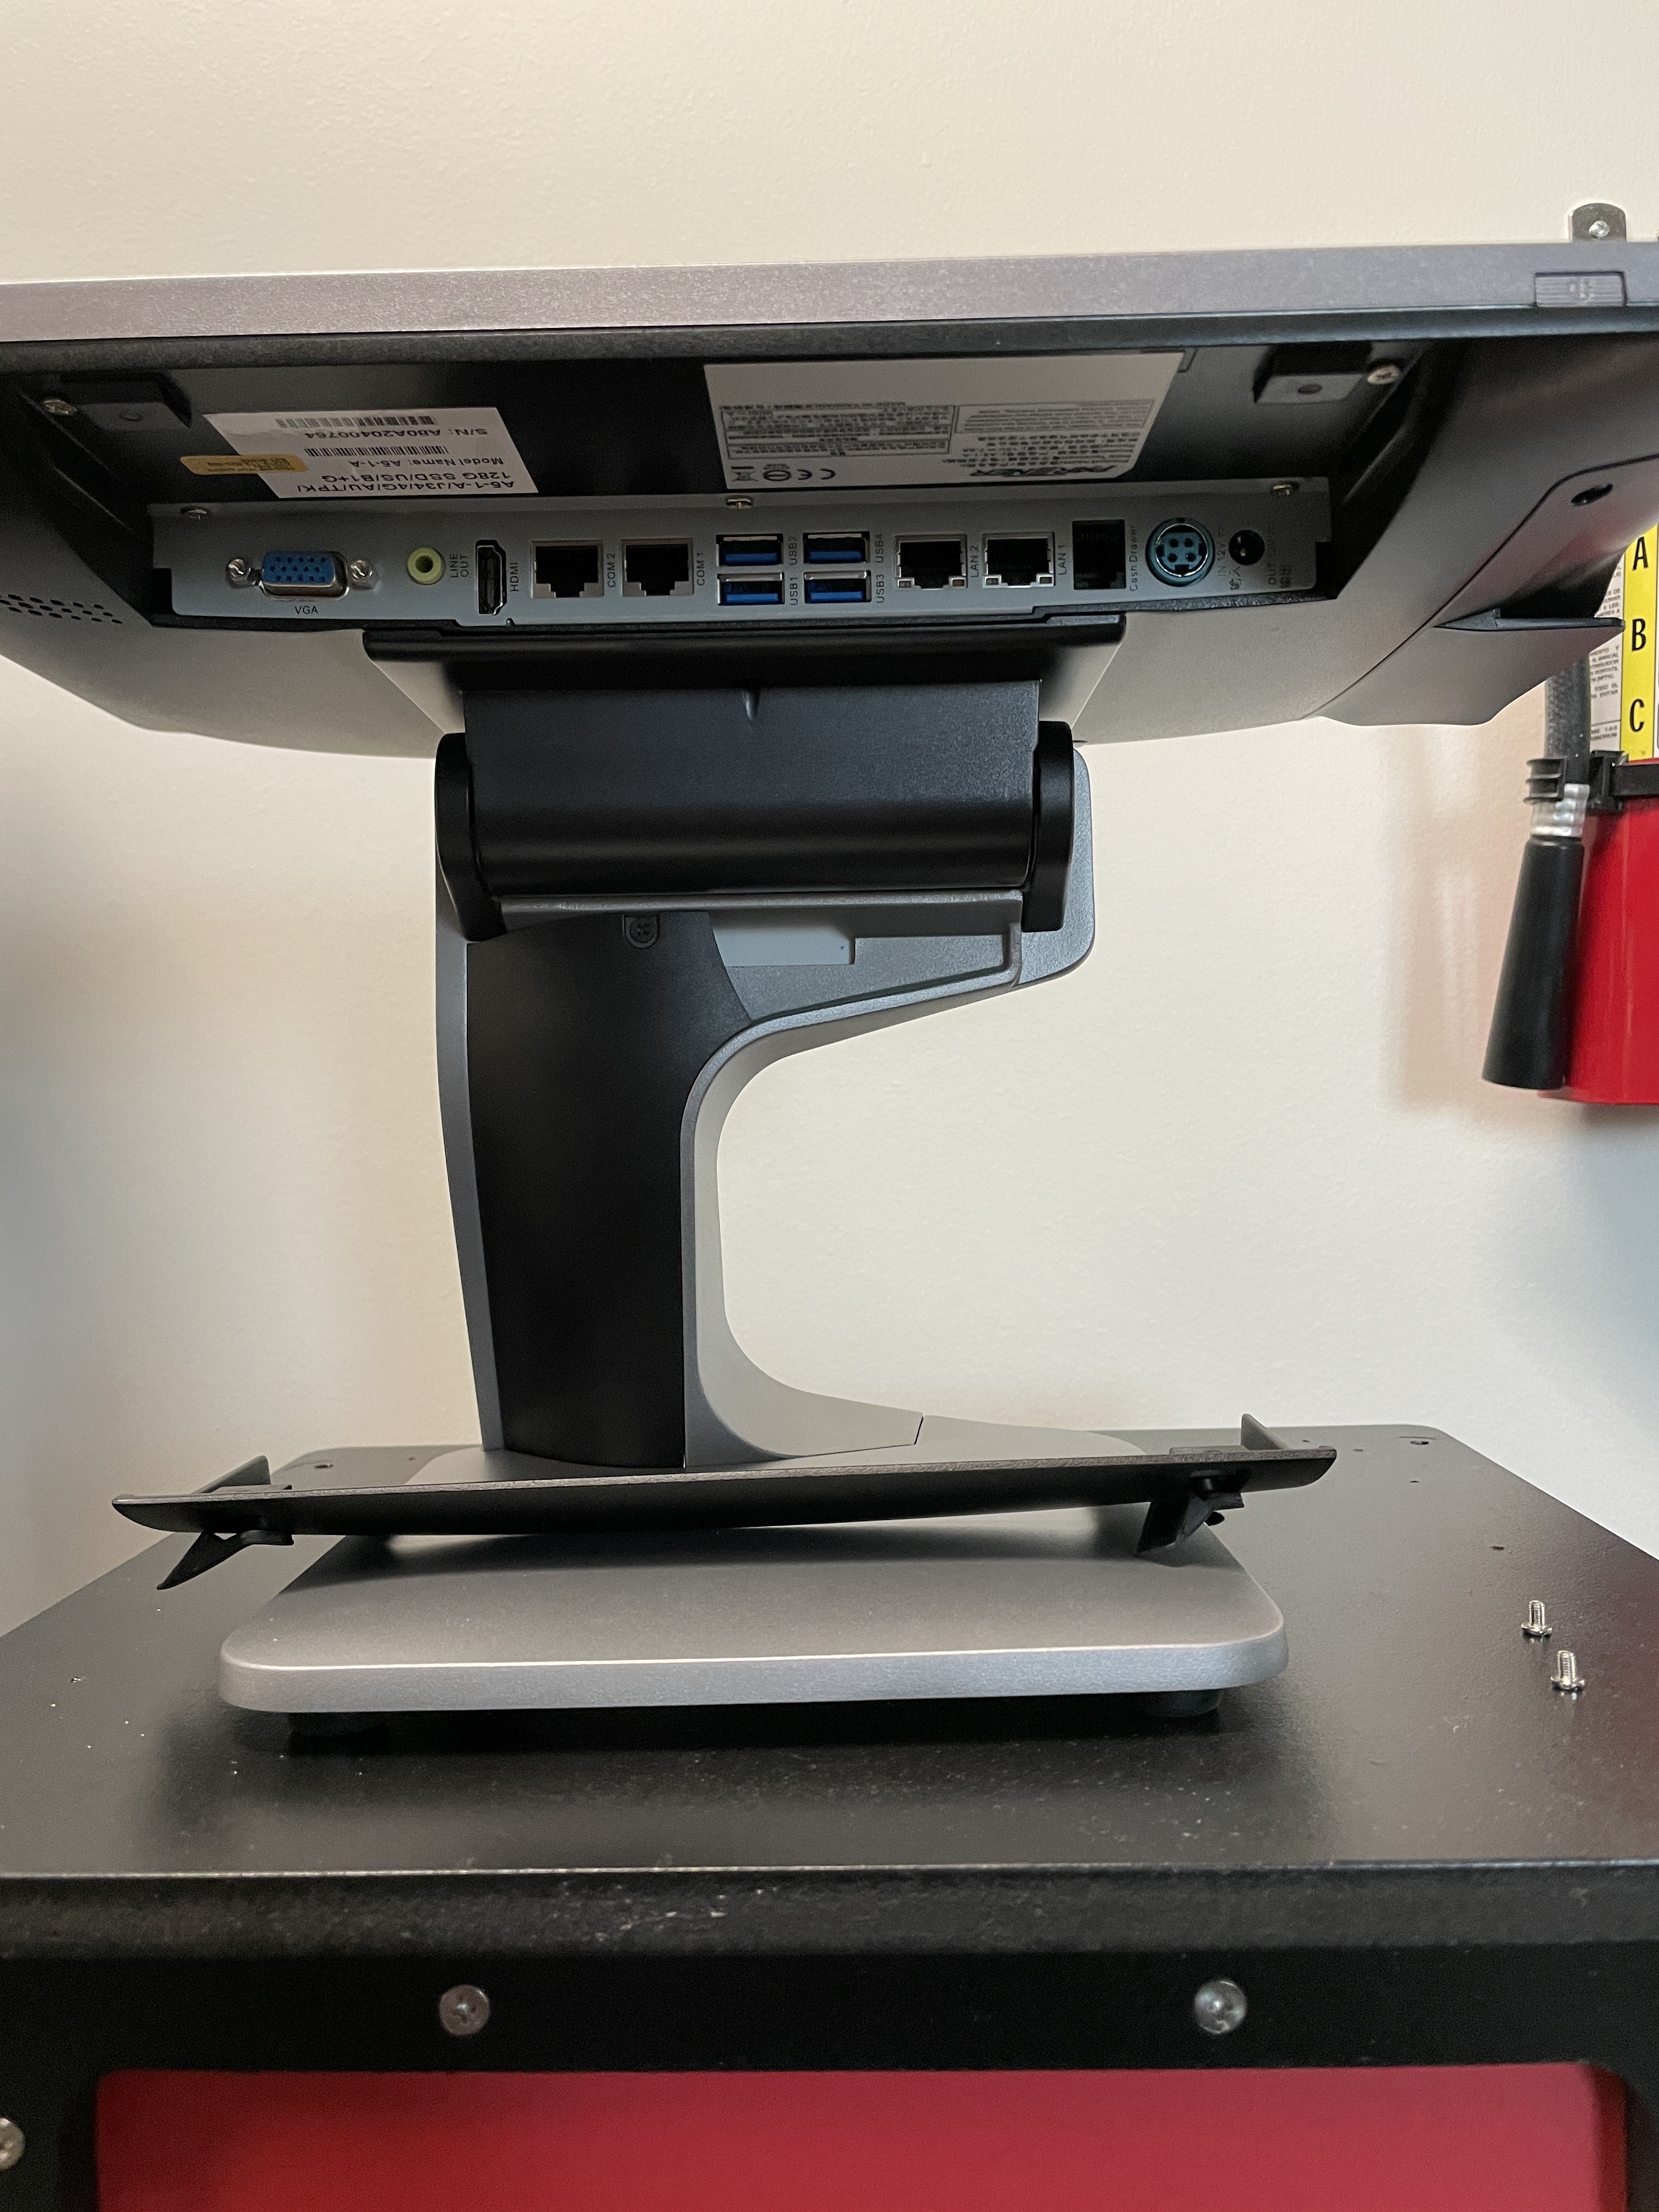
Step 1: Plugging in the cables
- It comes with Power and 2 Ethernet to Serial Cables
- The customer will need an Ethernet cable
- Keyboard (Sold Separately) is also mandatory
Step 2: Power on and Setup
- The power button is on the bottom right. It should log into Windows automatically
- Once logged in, click on the windows icon on the bottom left
- Click on the Gear/settings icon
- Click on System
- Click on Display
- Change the Zoom from 125% to 100%
- In the bottom right click on the windows Message icon.
- Turn Off Tablet mode.
Step 3: Setup an RDP connection
- Now it is a standard Windows 10 PC with touch.
- Setup an RDP connection as you normally would and save it to the desktop.