Before you start: Ensure that the desired email template has already been created in the system before attempting to set up the automation. You will also need access to the location's SP Admin portal.
Procedure:
-
Log into the location's SP Admin portal.
-
Navigate to the Customers tab.
-
On the left side of the screen, select the data fields you would like to display from the customers' profiles.
-
On the right side of the screen, set up your target filter. Click on the dropdown or any filter to accommodate for your needs.
-
Click the SEARCH button at the bottom of the page to apply the filter.

-
Once the filter is complete, then click on the AUTOMATE button in the bottom Right.
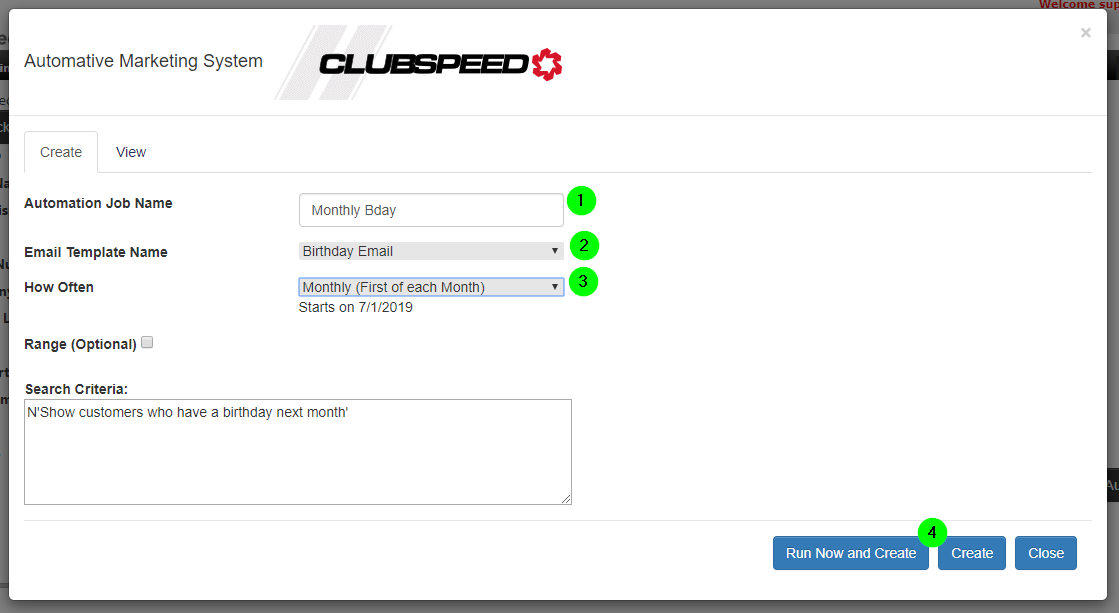
- You will get a new window to setup the Automated Emails

- Name the Email Job (EX: Monthly Birthday)
- Select the Email Template (You should create the template first!)
- Select how often you would like for it to send out.
- Click Create. These will send out in the early morning hours.
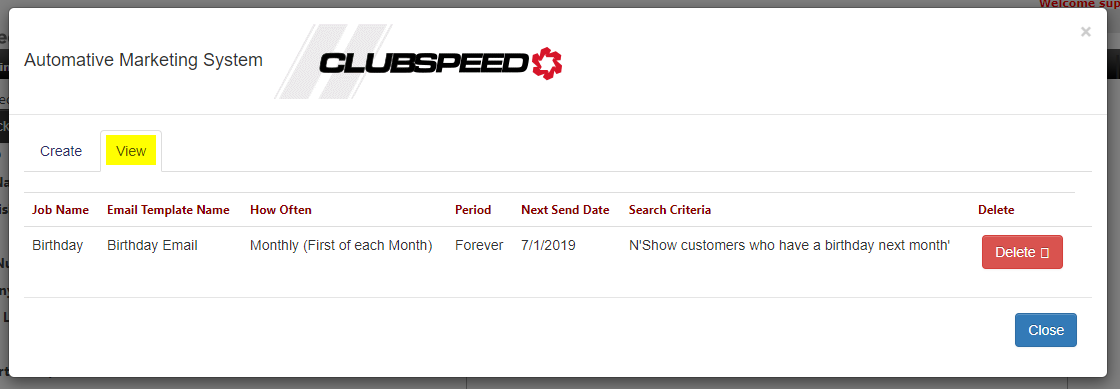
Job List
You can later look back at all of the automated emails you have created, or delete them by clicking on the VIEW tab.
Validation: You can create an user with your test email, use it on the search criteria field and send yourself a test email to see all works correctly.