First, hover over the “Waivers” tab in your Vantora account.
After that, two options will appear under that tab. Click on “Waiver Export.”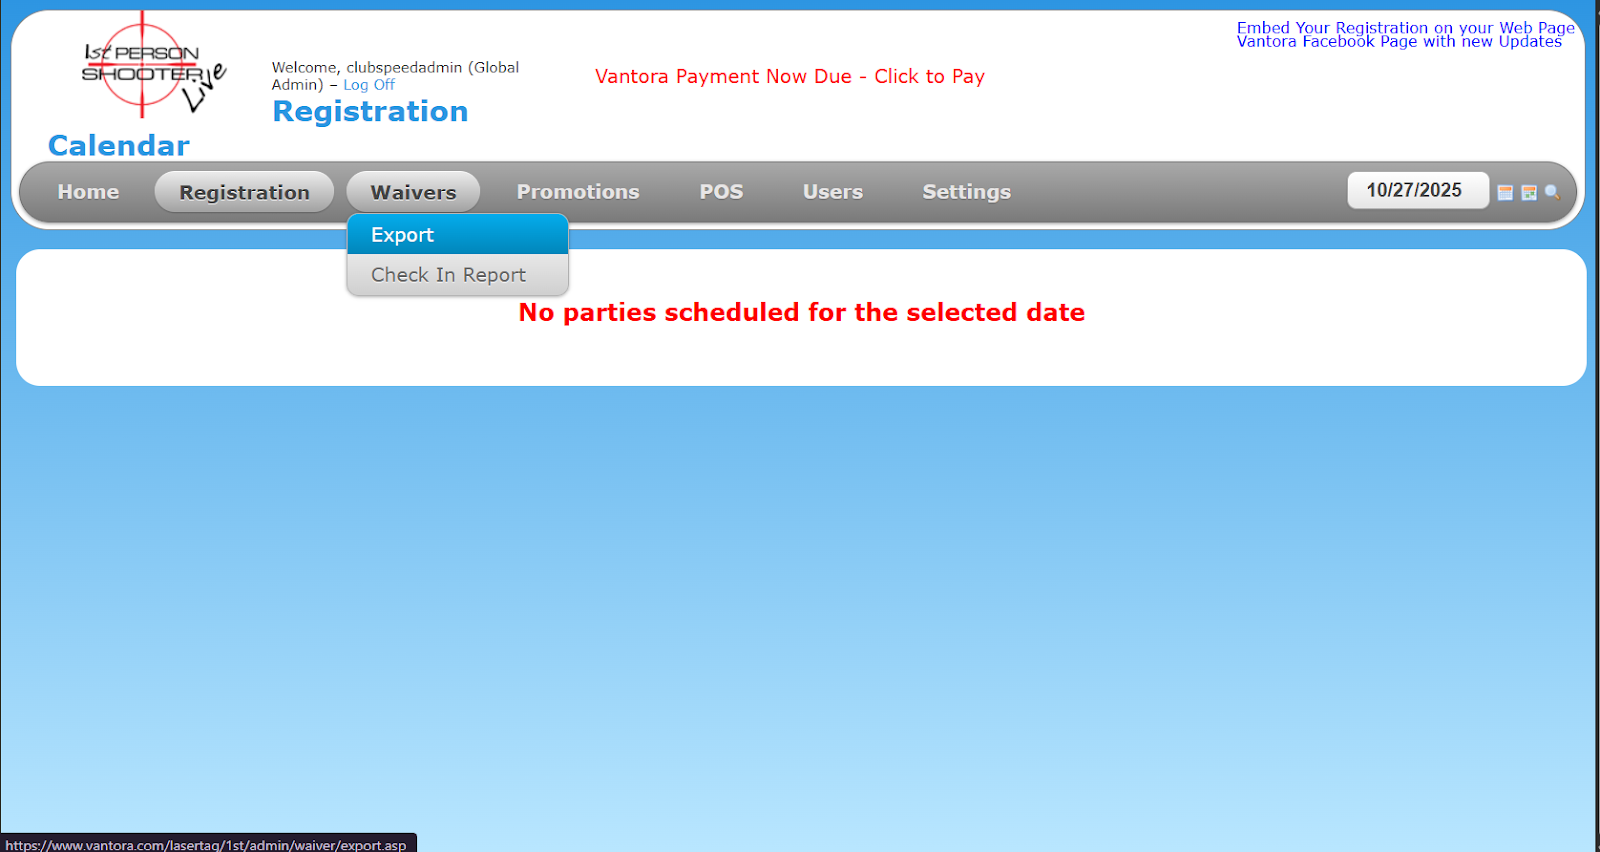
After clicking Export, select the options that best suit your data export needs.
You’ll have several date range options available:
- All – Exports waiver data from all time.
- Year to Date – Exports data from the beginning of the current year up to today.
- Month to Date – Exports data from the start of the current month to today.
- Custom Date Range – Allows you to specify a start and end date for the export.
If you select Custom Date Range, additional fields will appear where you can enter the specific dates you’d like to include.
Below the date range options, you’ll find additional settings:
- Include Previously Exported Records – Check this if you want to include records that were already exported before. If left unchecked, previously exported records will be excluded to avoid duplication.
- Include Signature SVG Data – Check this if you would like to include the SVG signature data.
- Include Legal Agreement – Check this if you wish to include the legal agreement text in the export.
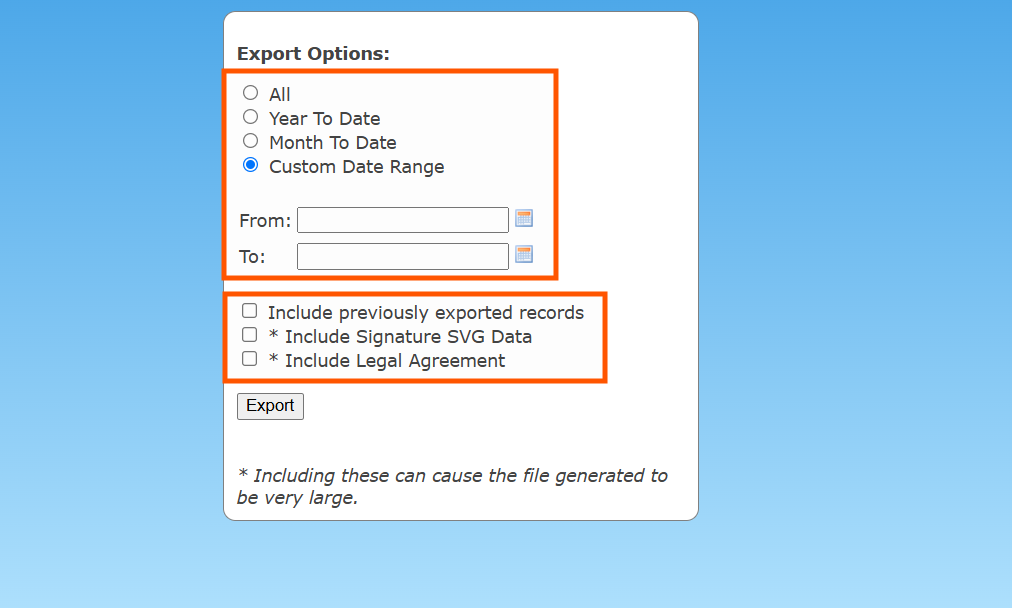
Once you’ve selected all the options that meet your needs, click Export.
Your waiver data will then be downloaded to your computer. ✅