EDIT: Translations
Now for the fun part! Time to enter in all of the translation for each language you have chosen to provide for your guests.
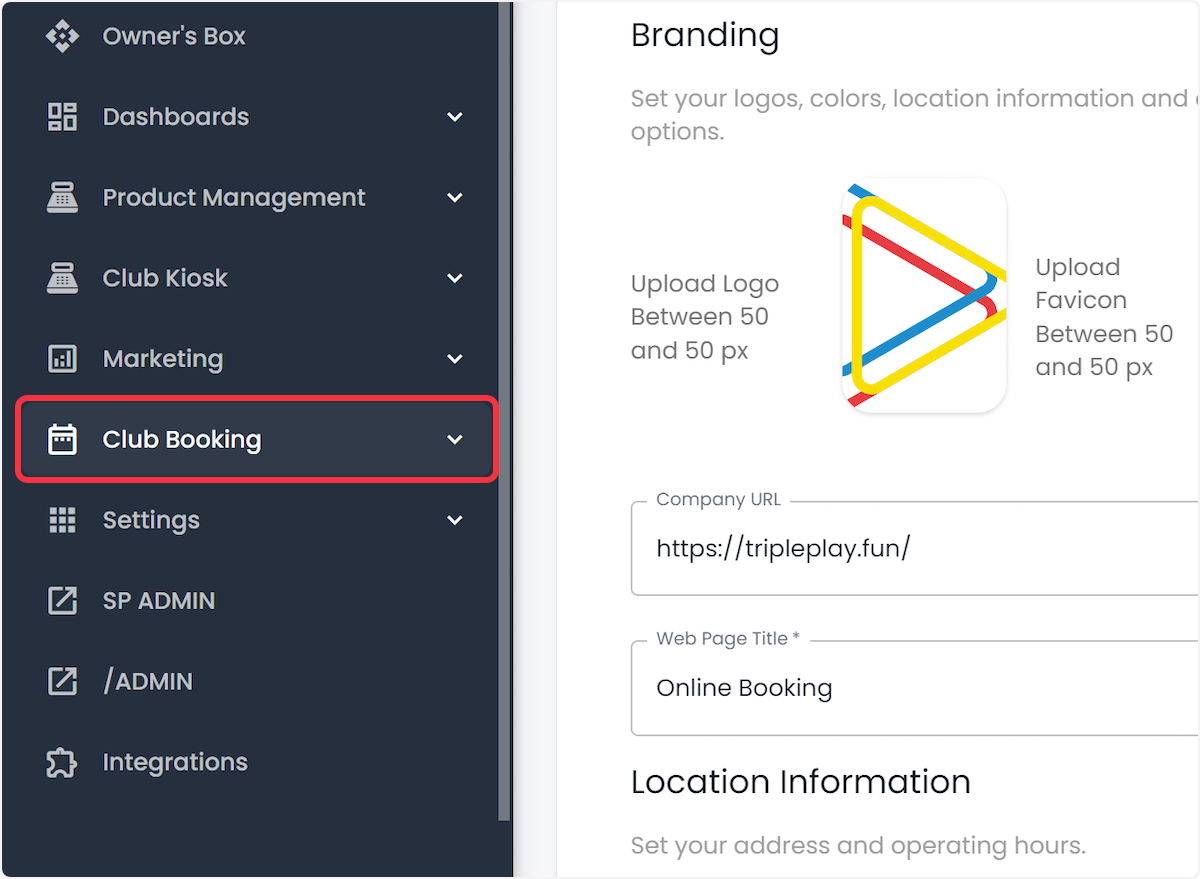
1. Navigate to Club Booking
// If you just enabled additional languages, you're probably already here, so Jump to the Branding tab!
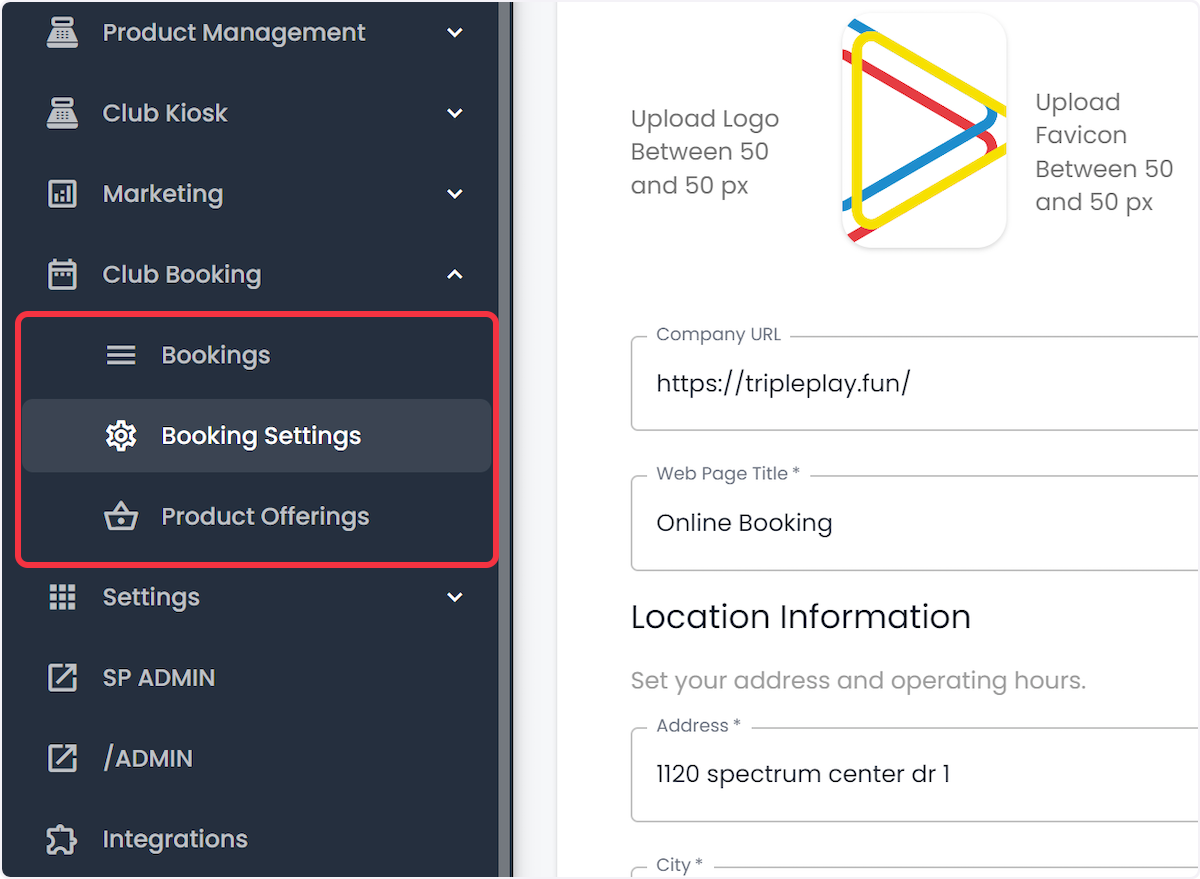
2. Booking Settings
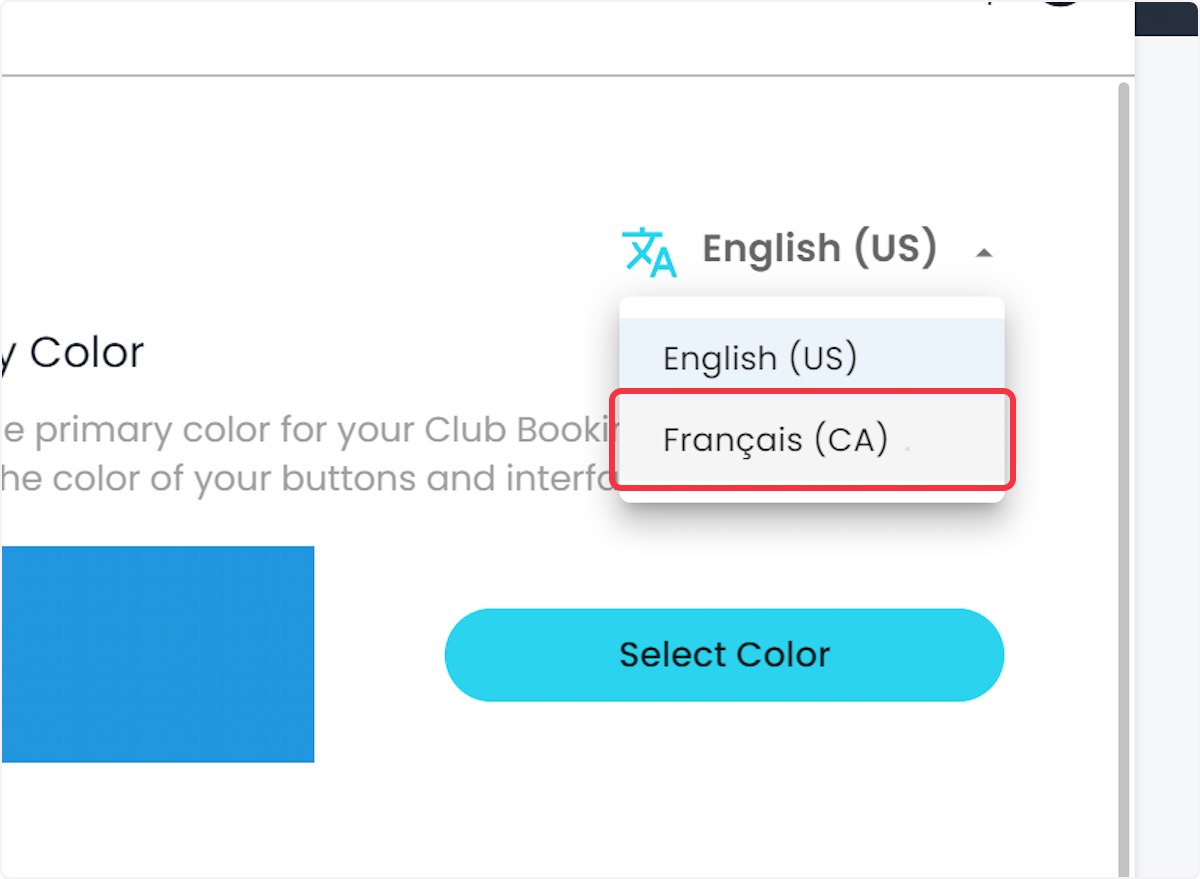
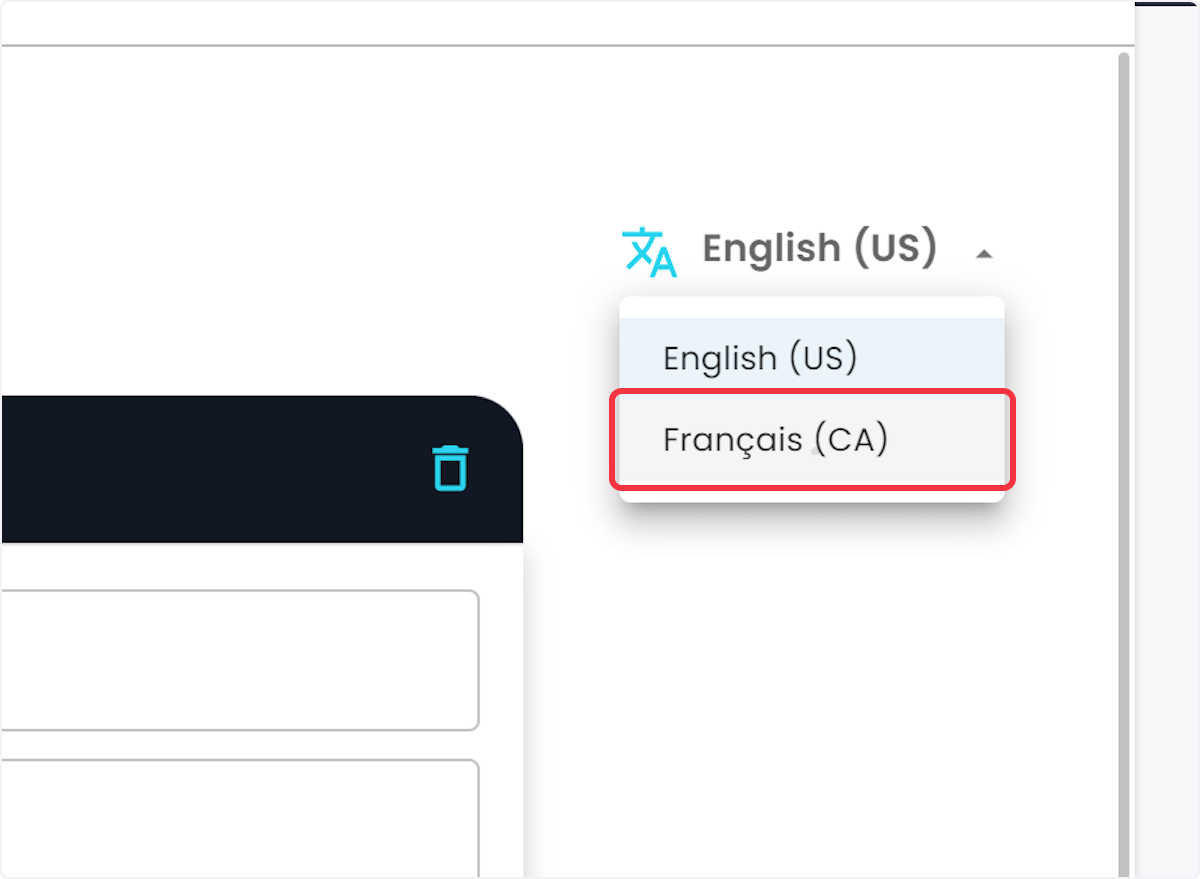
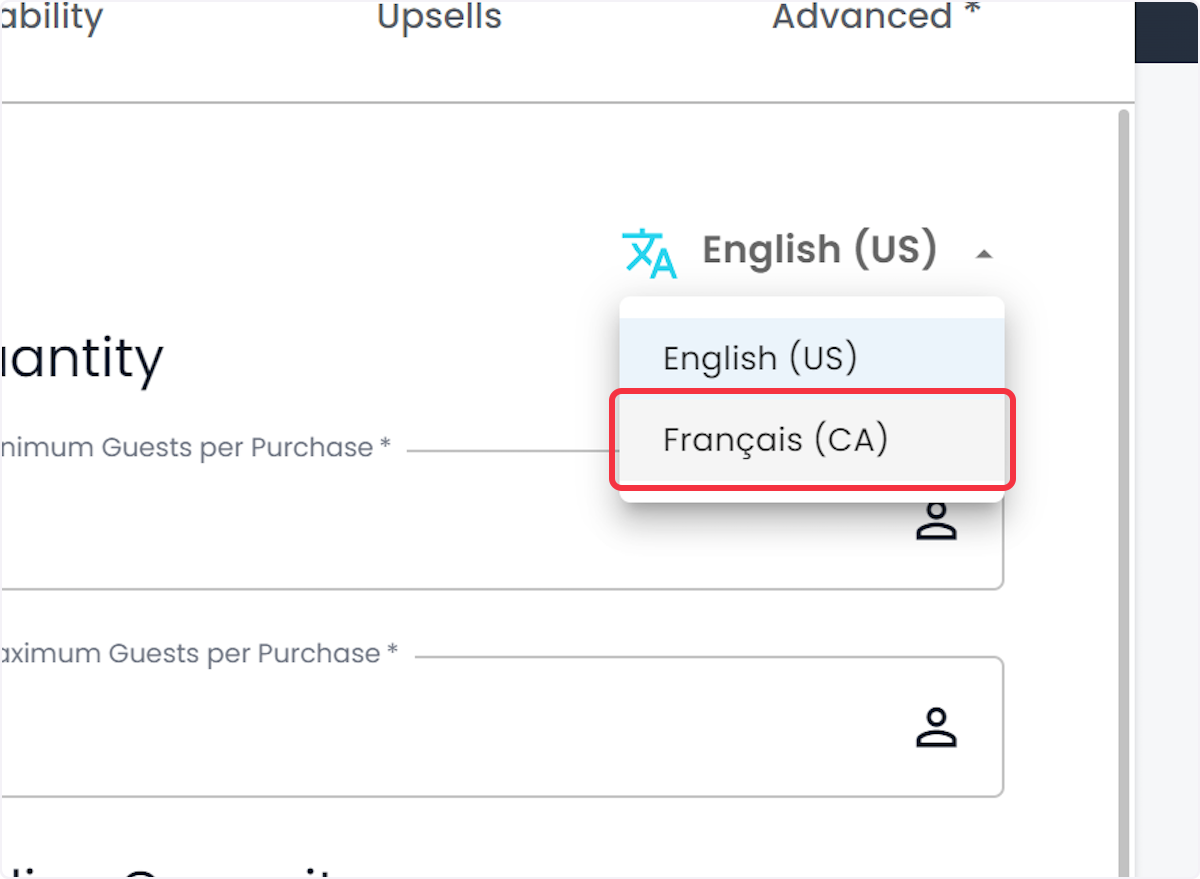
3. Click on the Language Toggle (Top-Right)
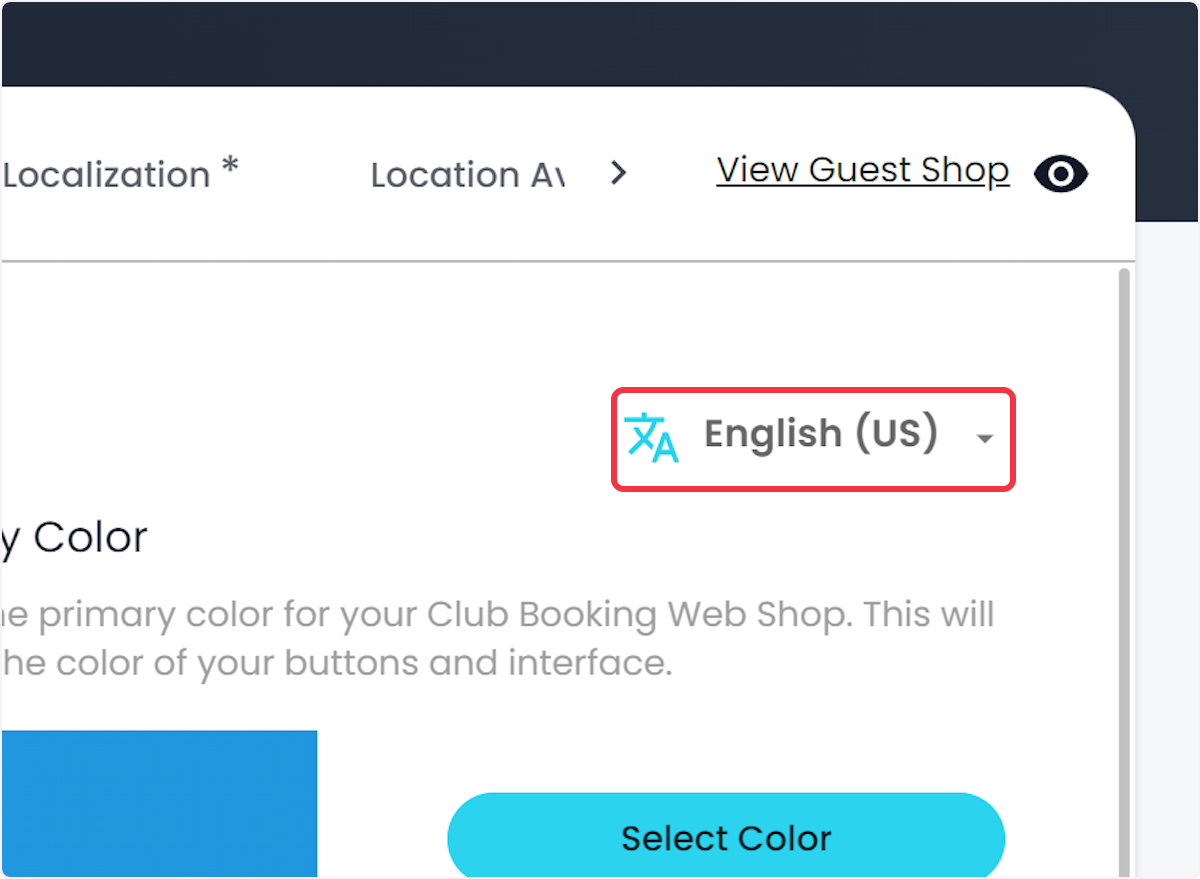
4. Choose the language you'd like to enter in
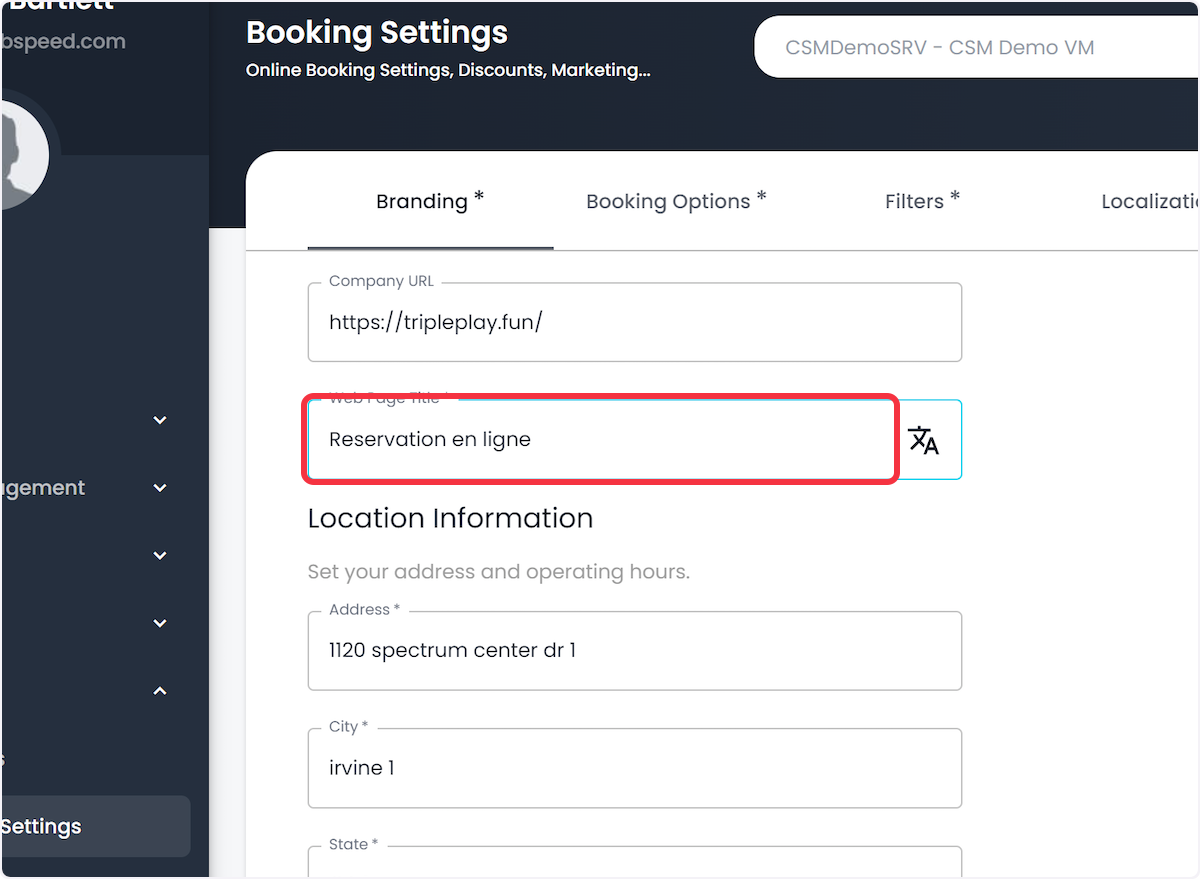
5. Branding Page!
// Start here in the branding page and modify all necessary fields that will be displayed to your guest.
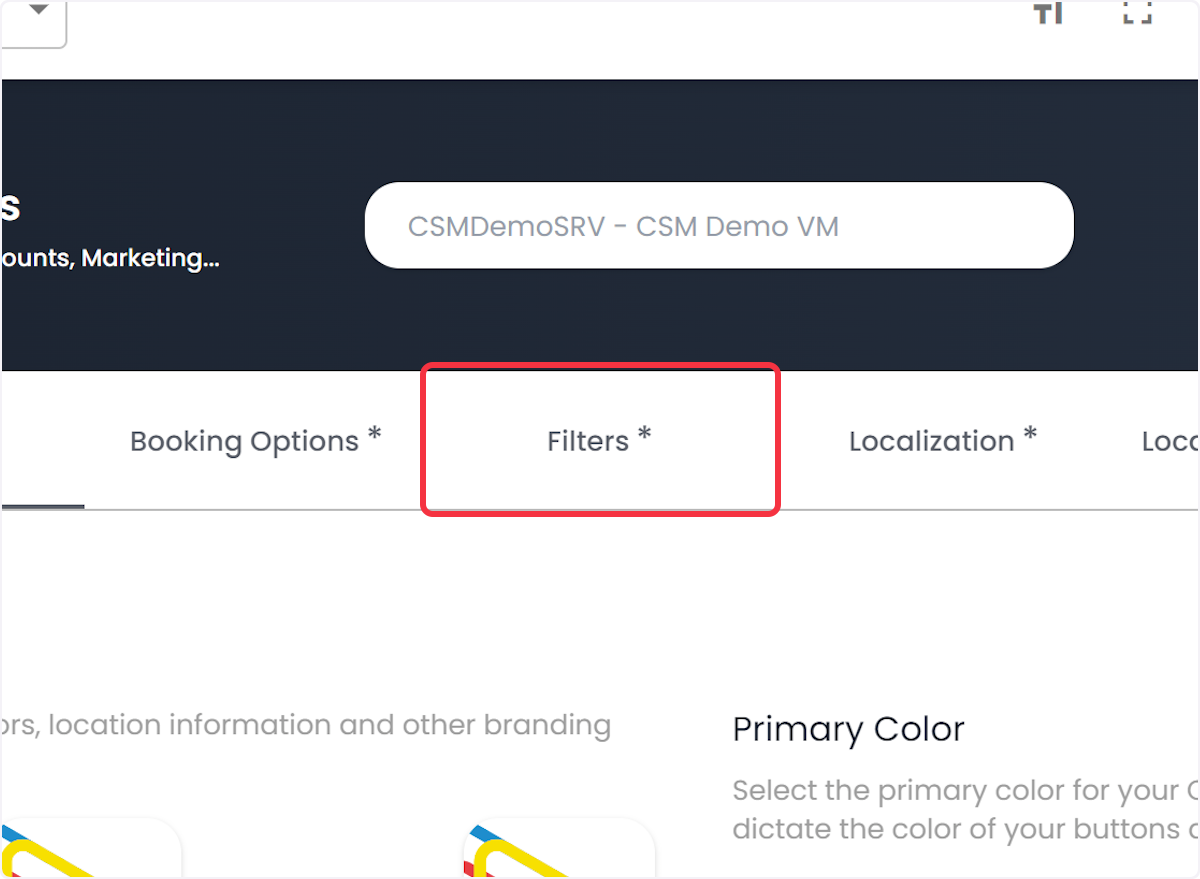
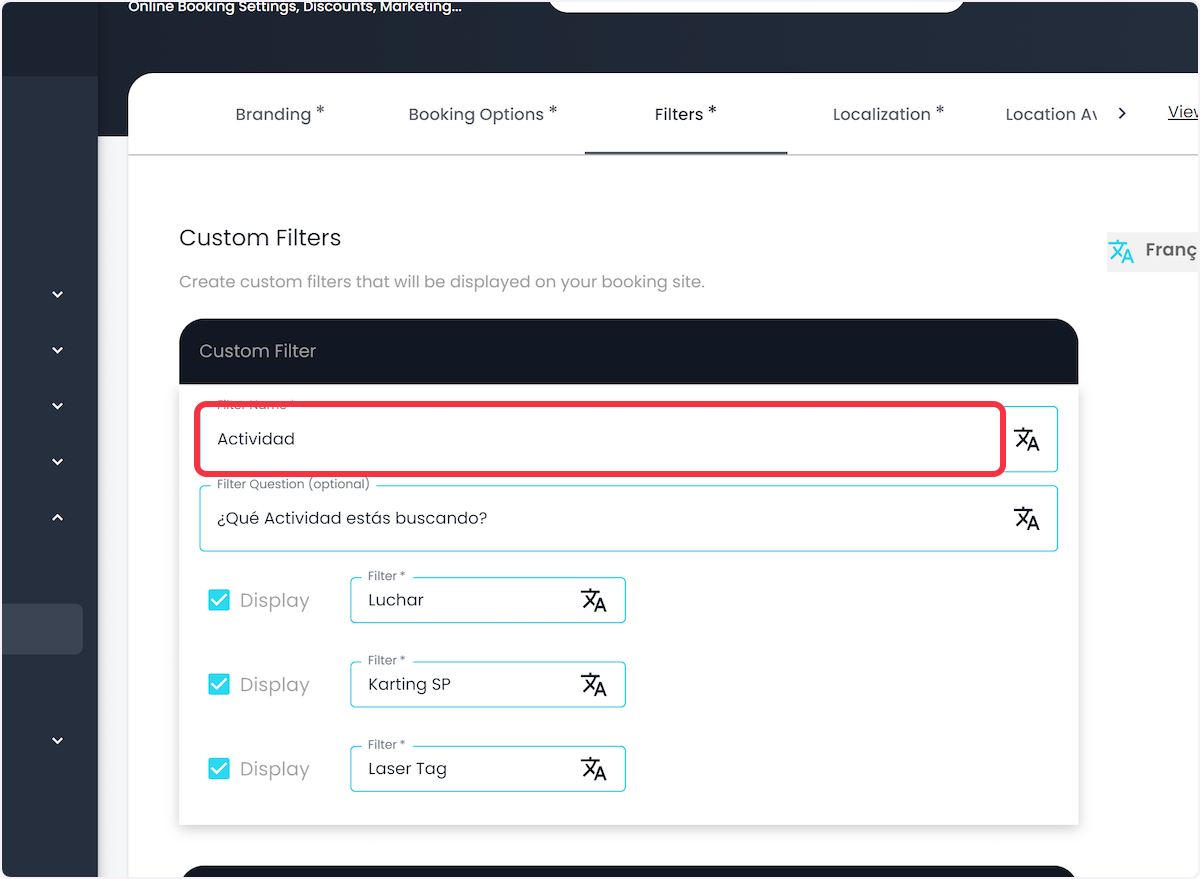
6. Next, Filters*
7. Again, Click Language Toggle
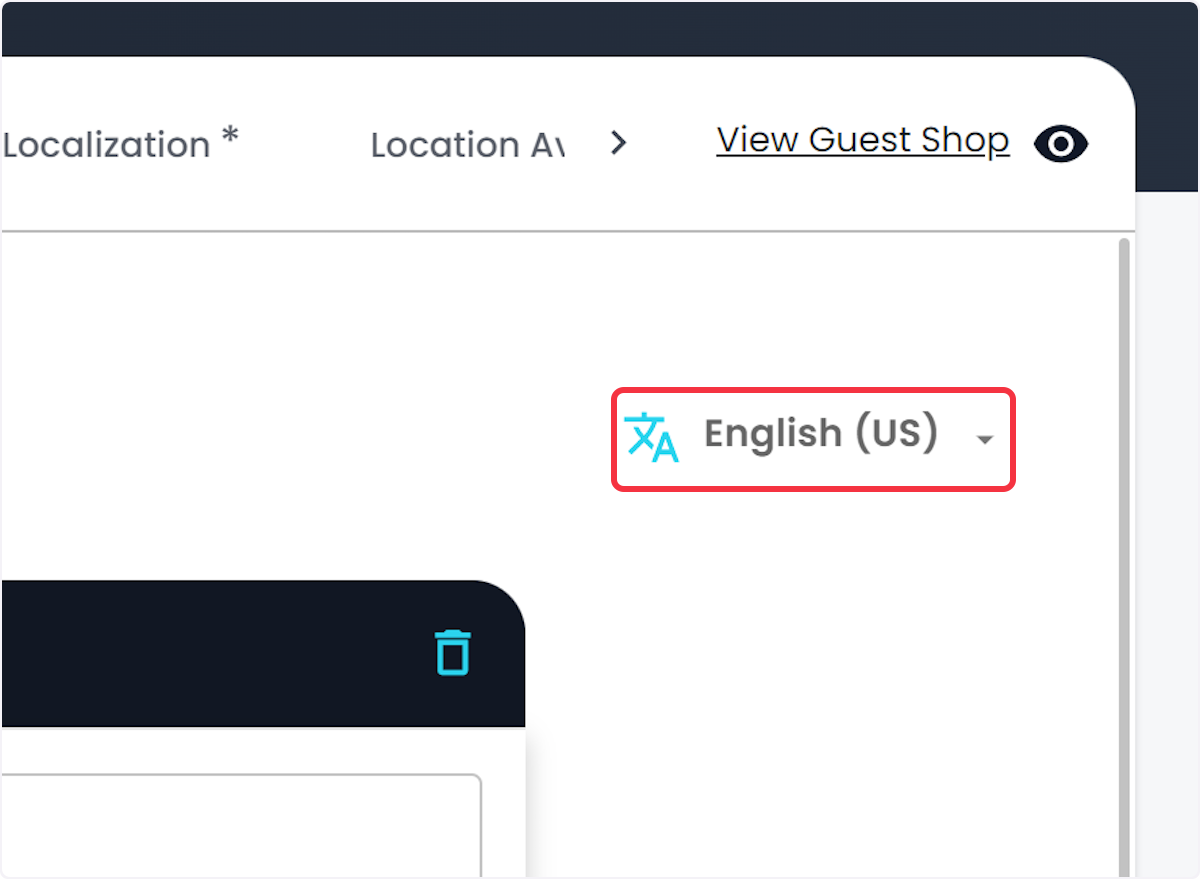
8. Choose Language
9. Translate all fields
// Before leaving the Setting page, don't forget to click SAVE when you're done!
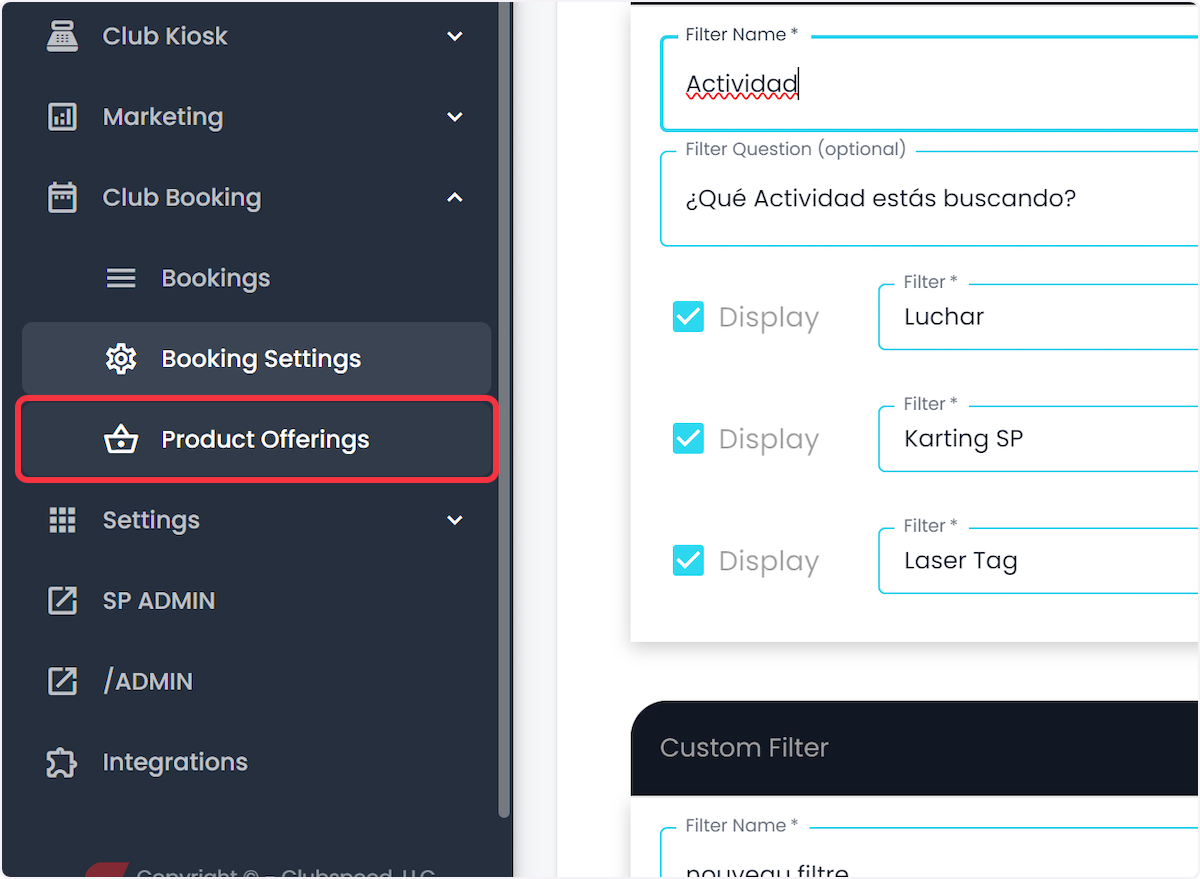
10. NEXT: Click on Product Offerings
// You will need to translate every Product Offering
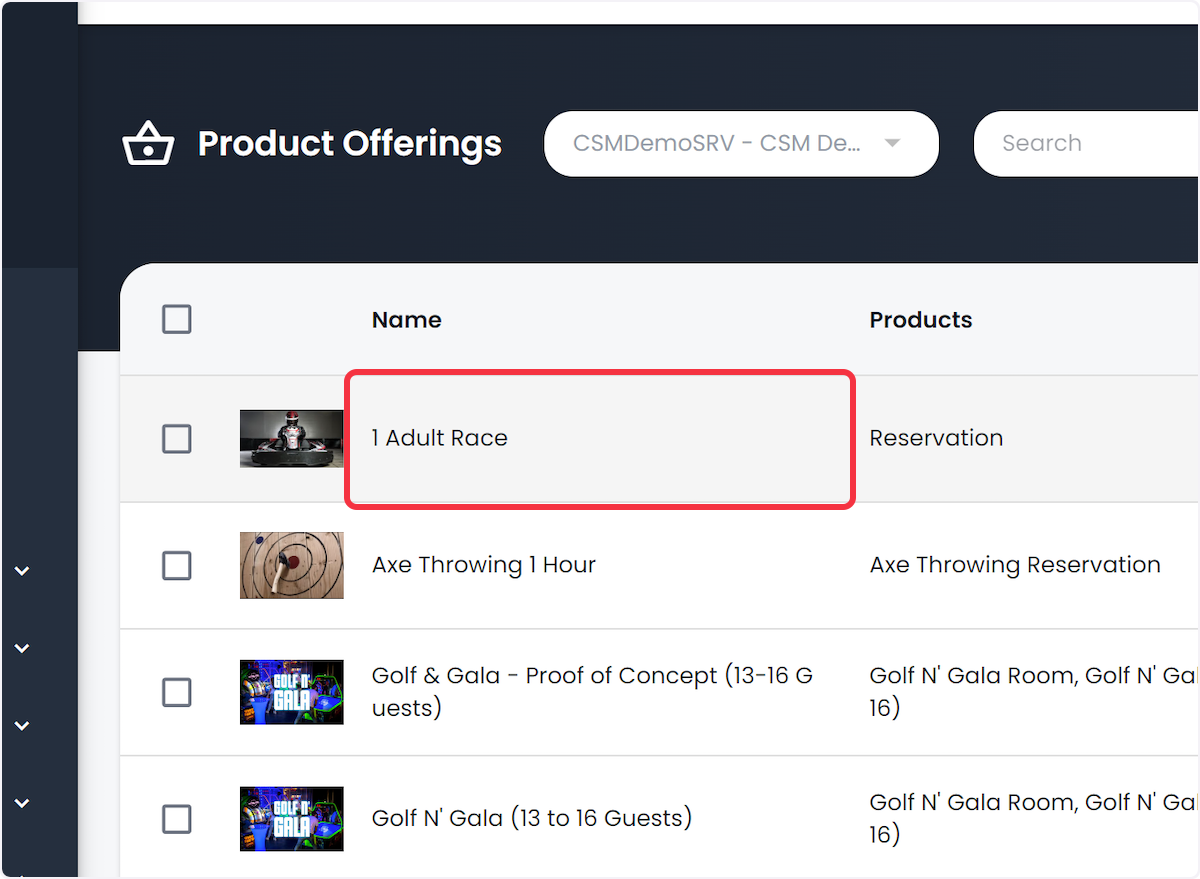
11. Click on the first Product Offering in the list
12. Click on Language Toggle & Choose Language
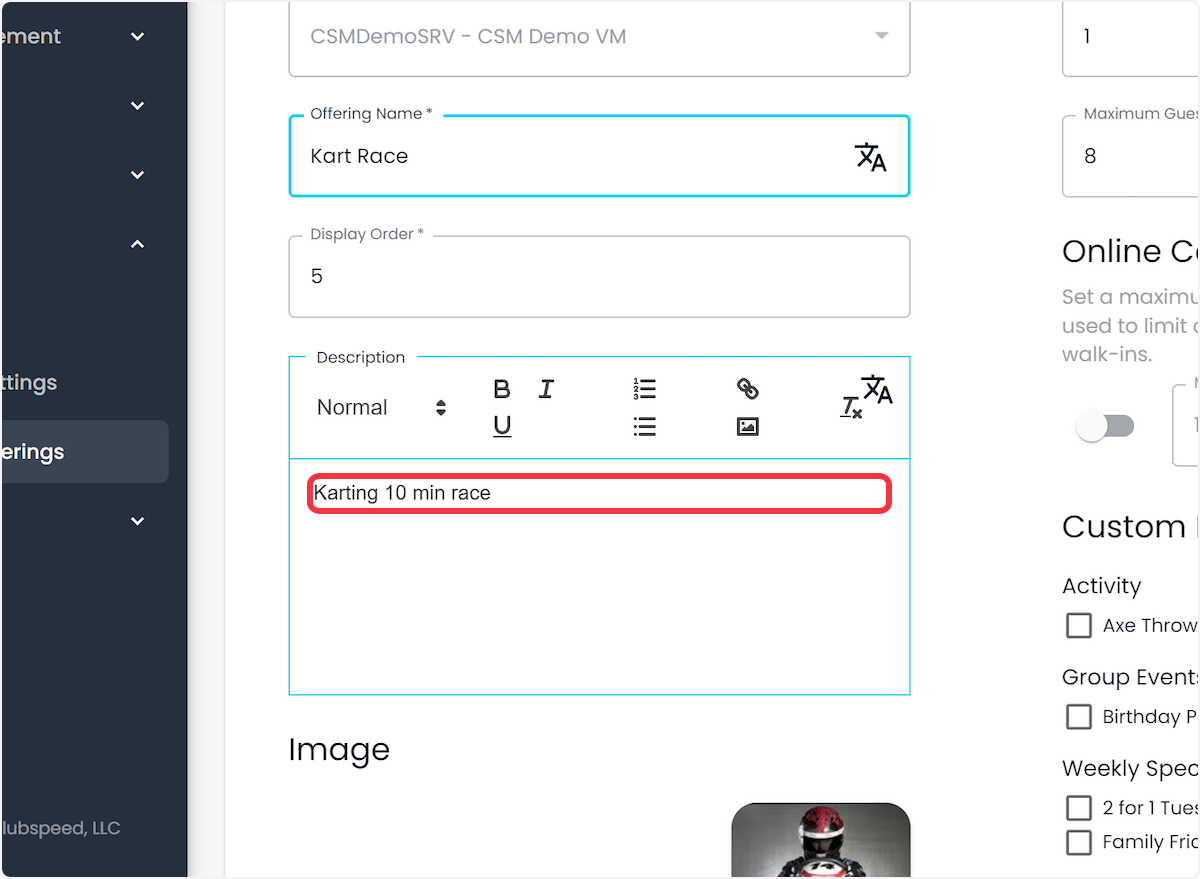
13. Edit " Product Offering Name
14. EDIT: Product Offering Description
// Save and REPEAT for all Product Offerings & Languages
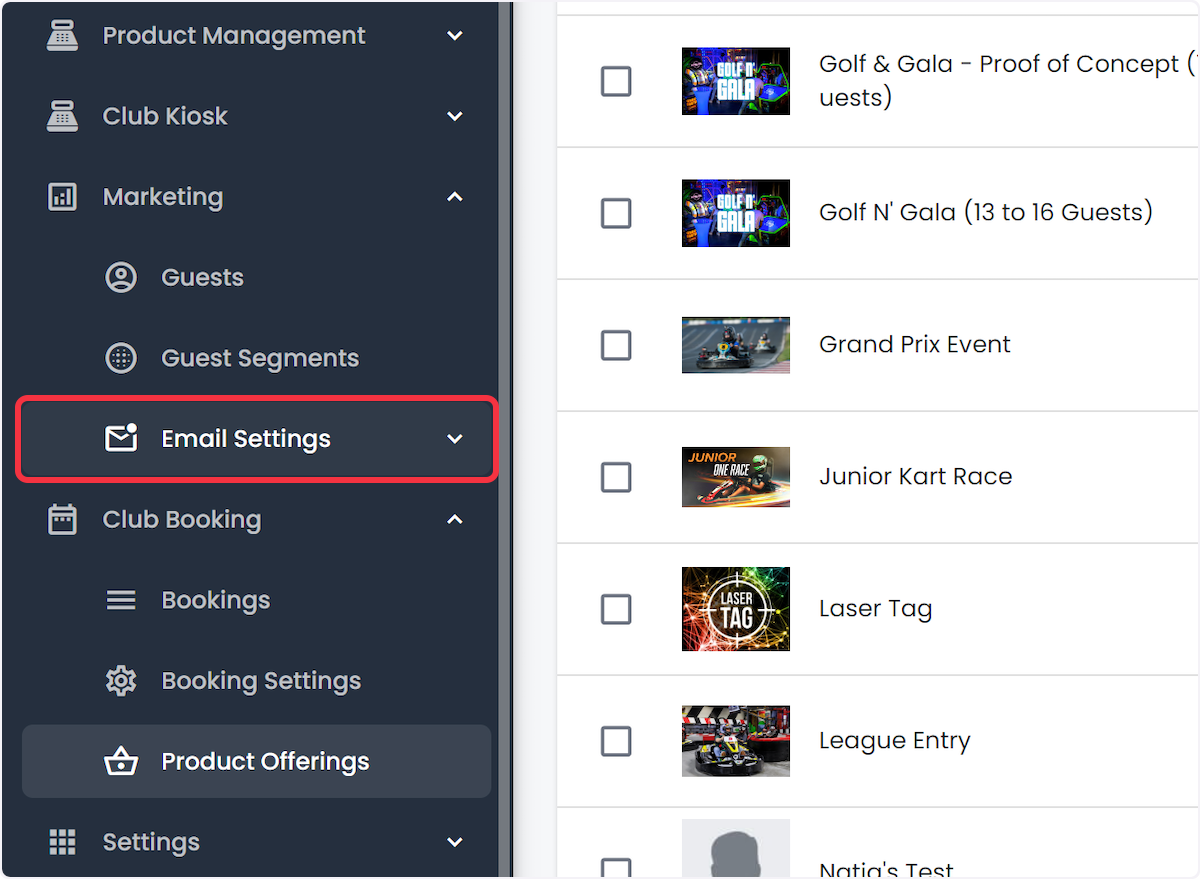
15. FINALLY: Navigate to Marketing
// Time to edit your Confirmation Emails!

16. Click on Email Settings
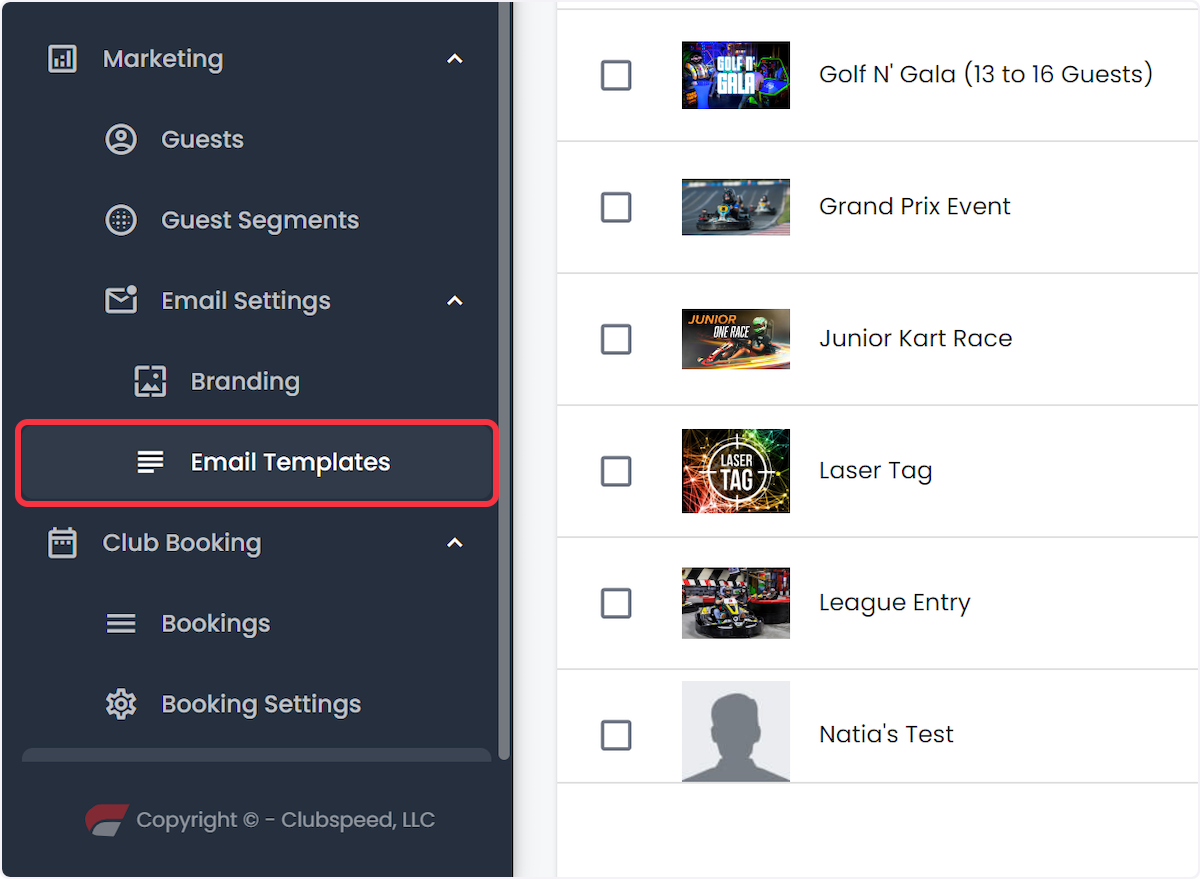
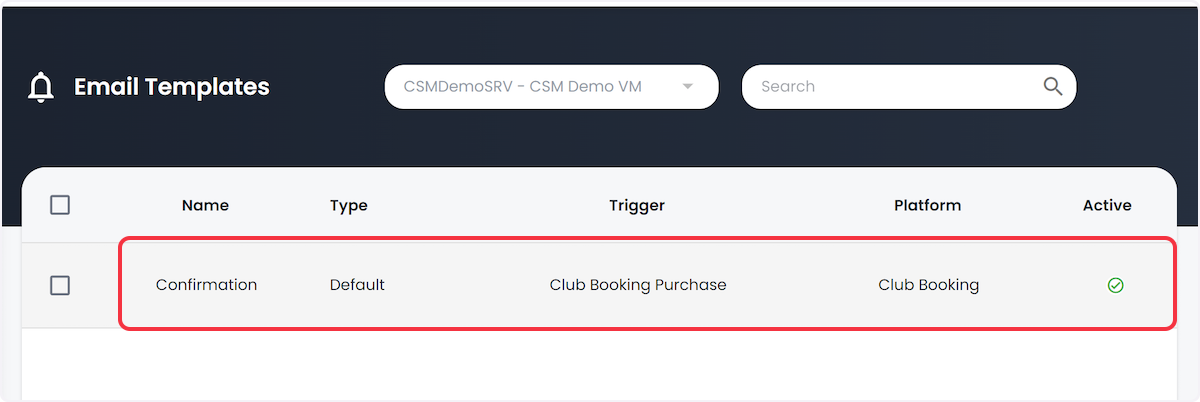
17. Click Email Templates
18. Click on Confirmation Email
If you have a multi-location site, you will need to select the Location first!
19. You know the drill!
Click the Language toggle and select the language
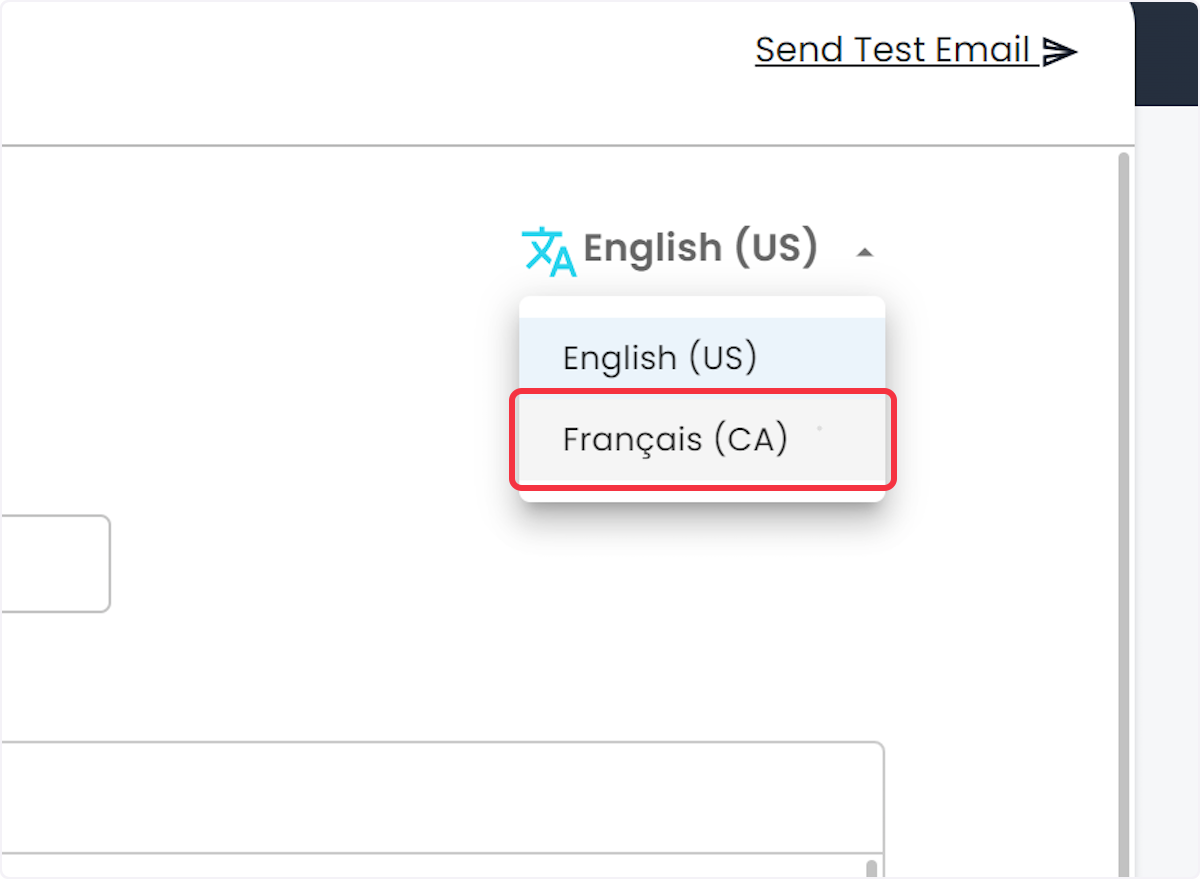
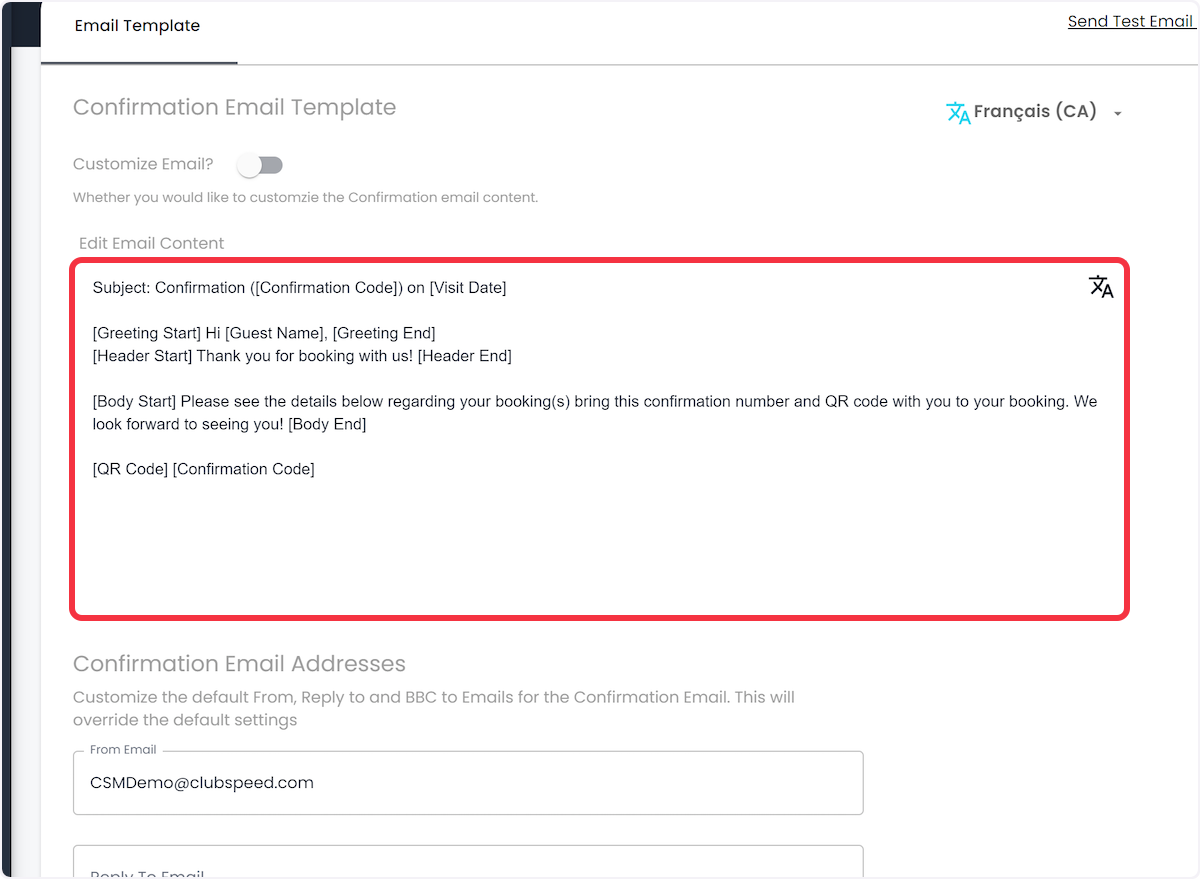
20. EDIT Confirmation email
>> DO not edit the [TAGS] only the verbiage that displays to the booking guest.
// Don't forget to save! :)