Installing RDS CALs on Windows Server 2019
1. Open RD Licensing Manager
a. Right click the Server, click "Activate Server", click "Next", click "Next", enter their license info for first name, last name, the company, and the country.
i. Ex: For K1Irvine, the first name would be "K1", last name would be "Irvine" and Company would be
K1Irvine"
b. Click "Next", leave the fields blank and click "Next", make sure "Start Install License Wizard now" is checked, and click "Next"
2. The install licenses wizard should now be open. Click "Next", click the drop down for "License Program", select "Open license", and click "Next".
3.Type in the authorization and license numbers that are taken from our inventory sheet and update the sheet accordingly.
4. Click "Next", click the "Product Version" dropdown and select "Windows Server 2019". Click the "License type" and click "RDS Per User CAL". For the quantity, set it to 5 unless it is a special case or the inventory sheet states otherwise. Click "Next", then click "Finish."
5. In the RD Licensing Manager, click the "Review" hyperlink for the server, click "Add to Group", click "Continue", click "OK", then click "OK" again to exit the configuration window.
6. The "Activation Status" should now be marked as "Activated" for the server, but the Remote Desktop Licensing service needs to be restarted. Open a command prompt window and run the commands "net start TermServLicensing" and "net start TermServLicensing".
a. Alternatively, you can open services.msc and restart the Remote Desktop Licensing service.
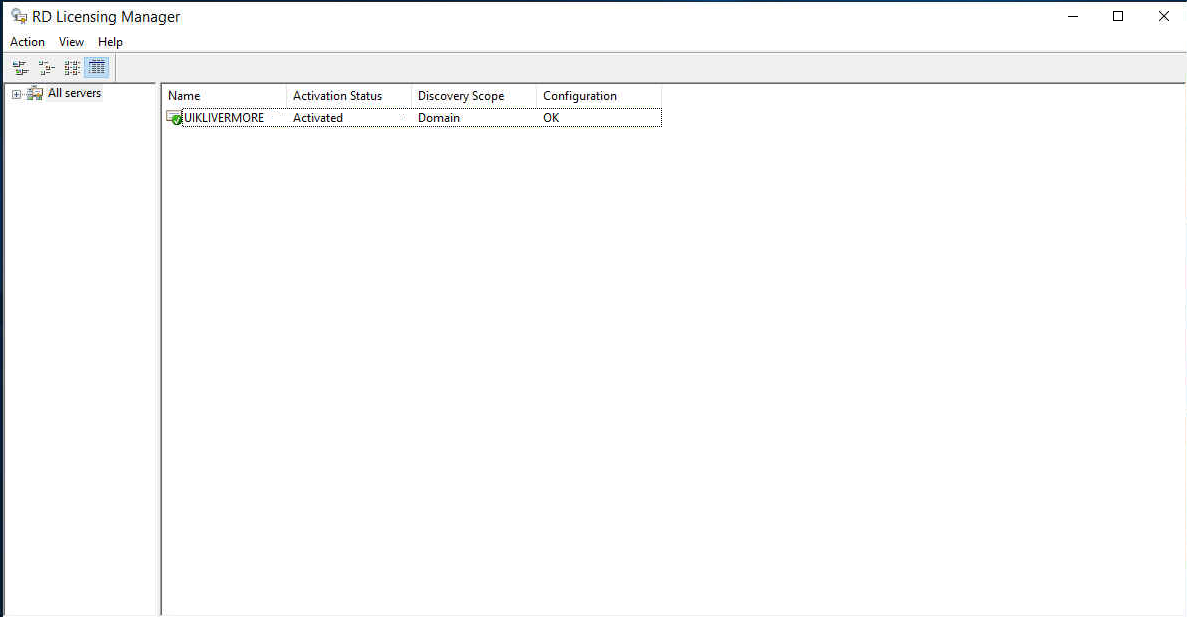
7.To verify the process is complete, go back to RD Licensing Manager, right click the server, and click "Refresh." The server should now show a green check box and the configuration column should show "OK."